Spare Parts
CMMS is the panel where spare parts and devices are managed. The Spare Parts panel is the place where you can manage all `parts, manufacturer, model, stock status, etc.

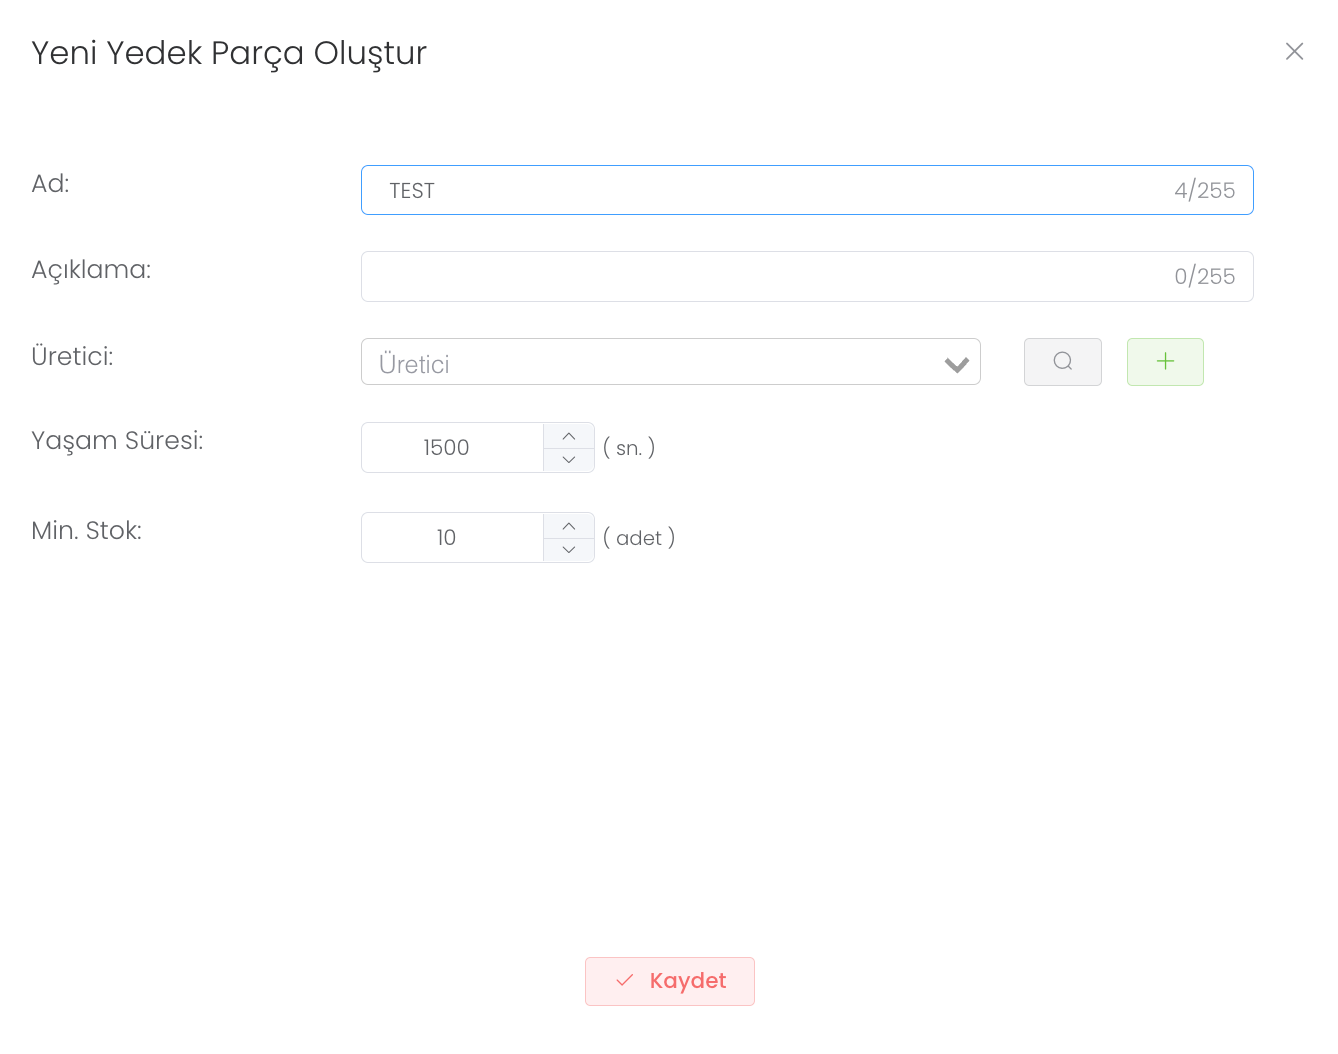
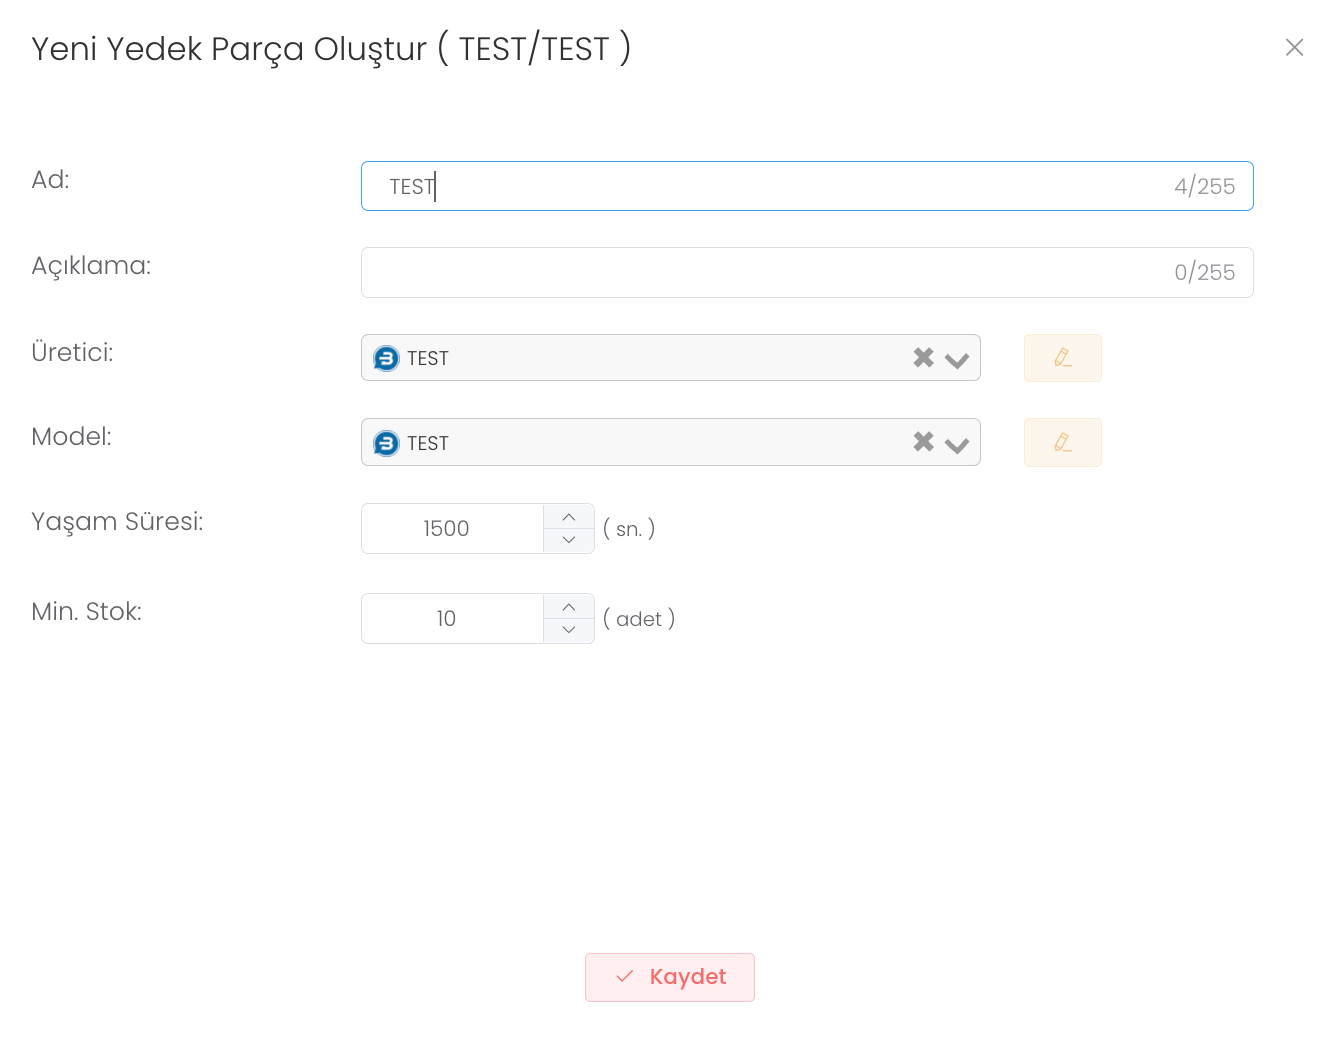
When you press the "Create" button, you will be presented with a field to create a new spare part. Enter name, description, manufacturer information, model, life time, minimum stock status in this field and press Save button. You have created a new spare part.
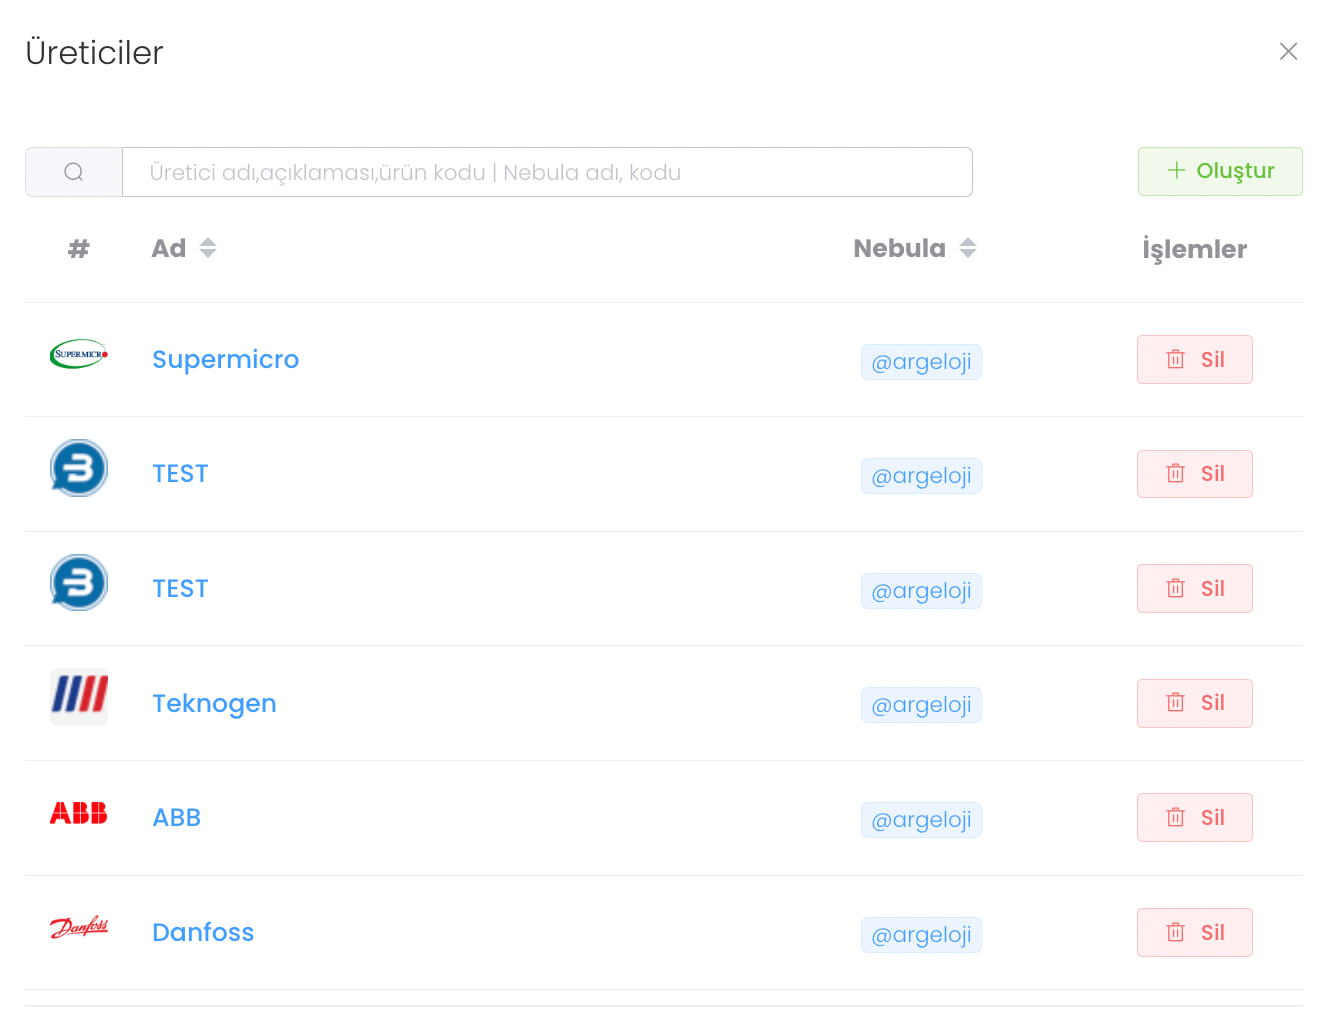
This is the field where you can select the manufacturers of spare parts from the "Manufacturers" section. If you want to add a new manufacturer, click on the "Create" button.
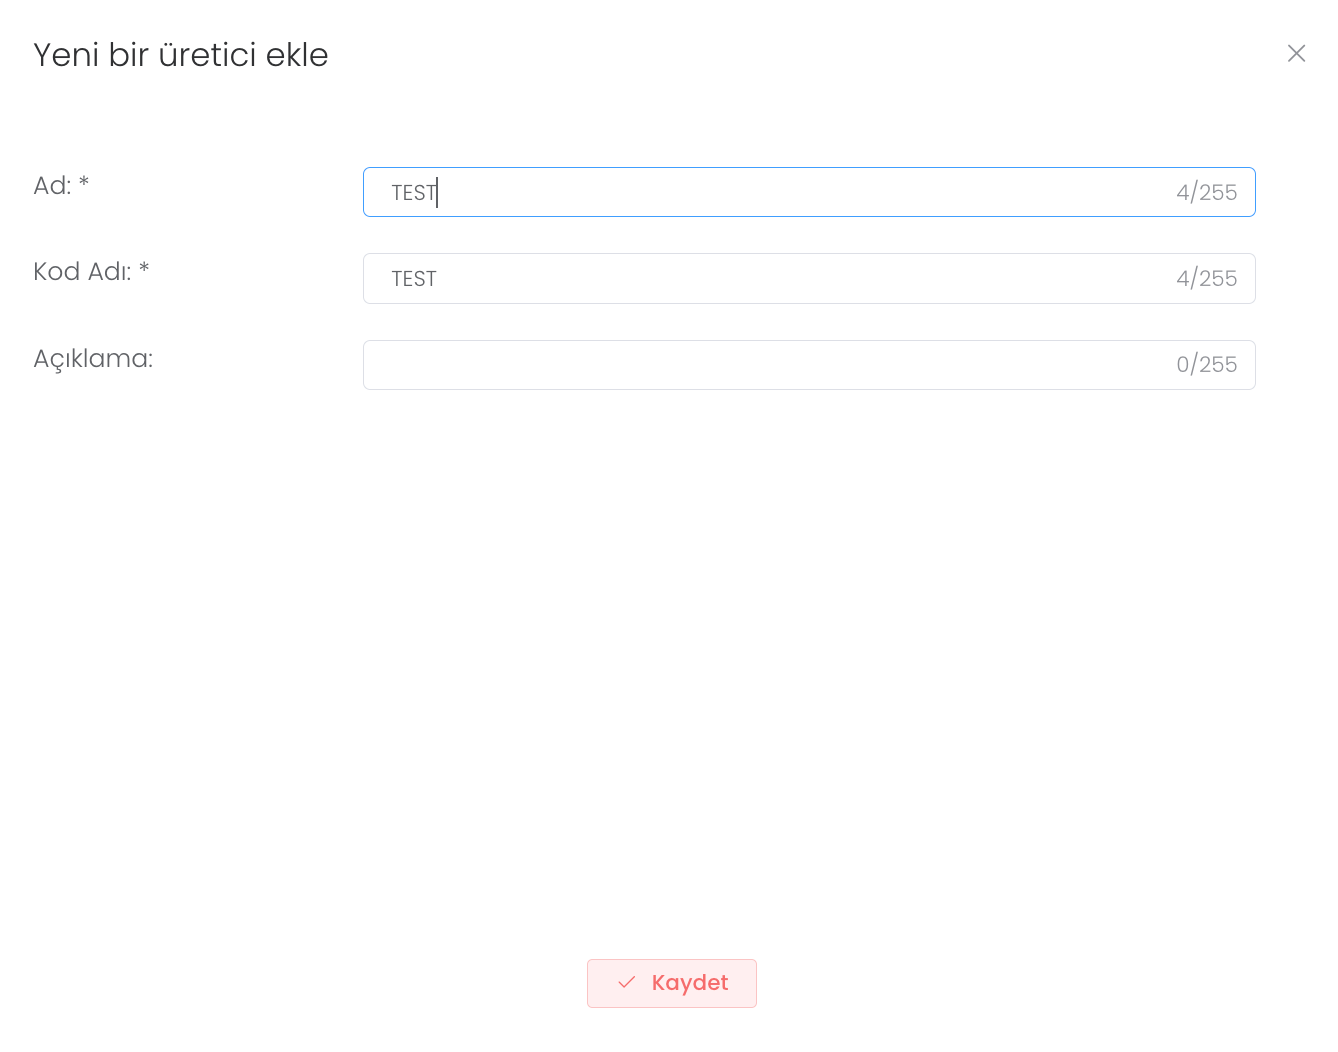
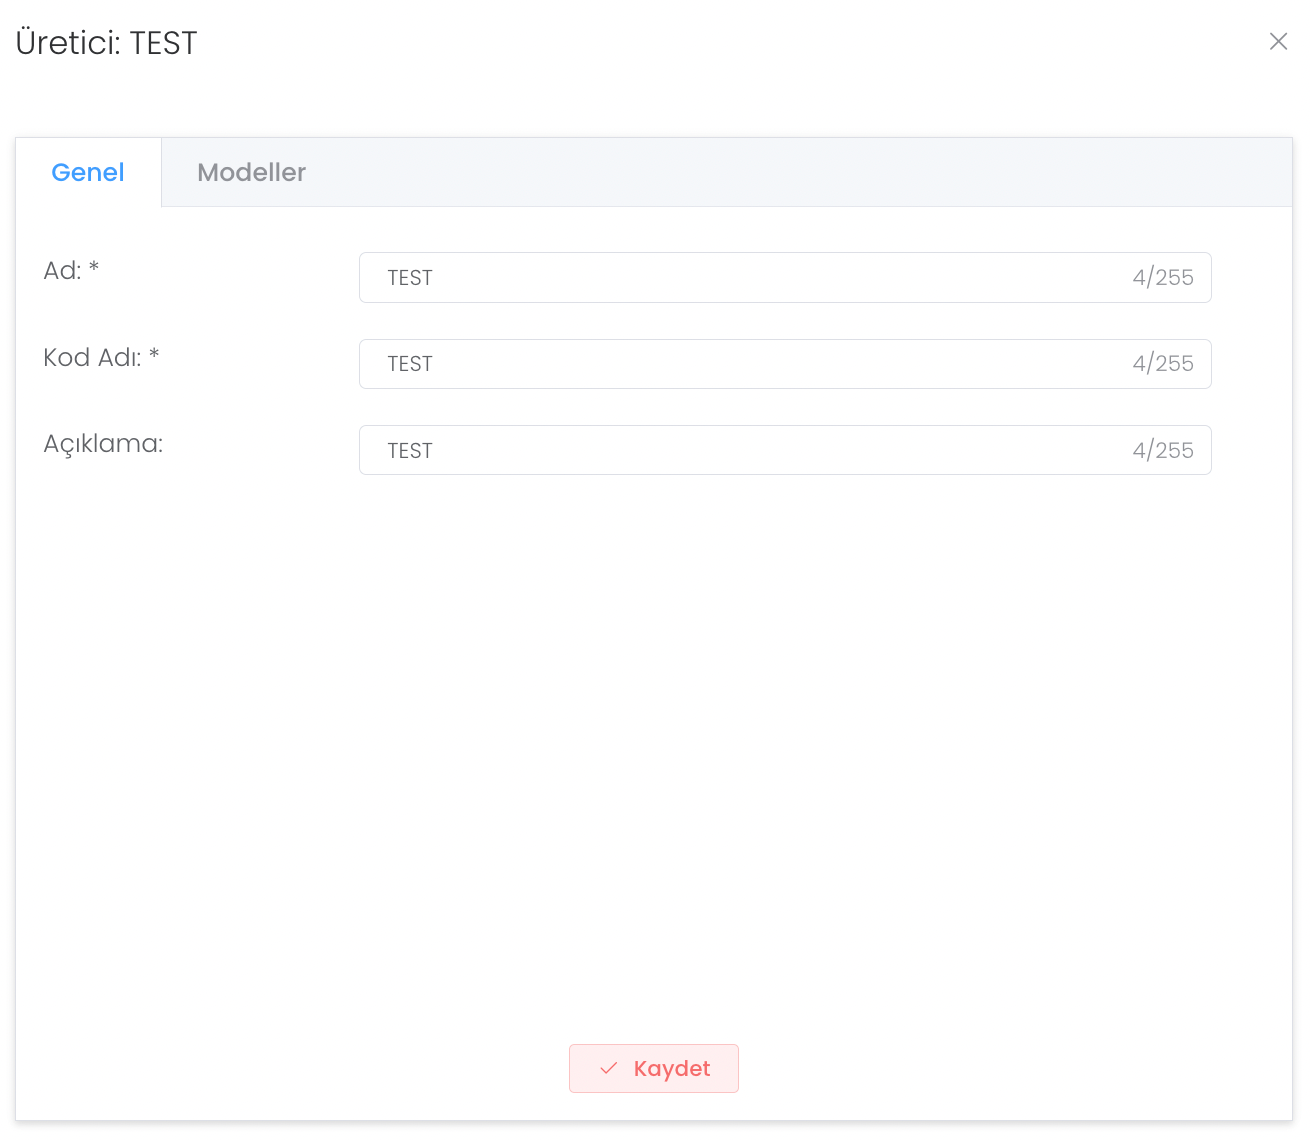
After clicking the "Create" button, you can enter information such as name, code name and create your new manufacturer.
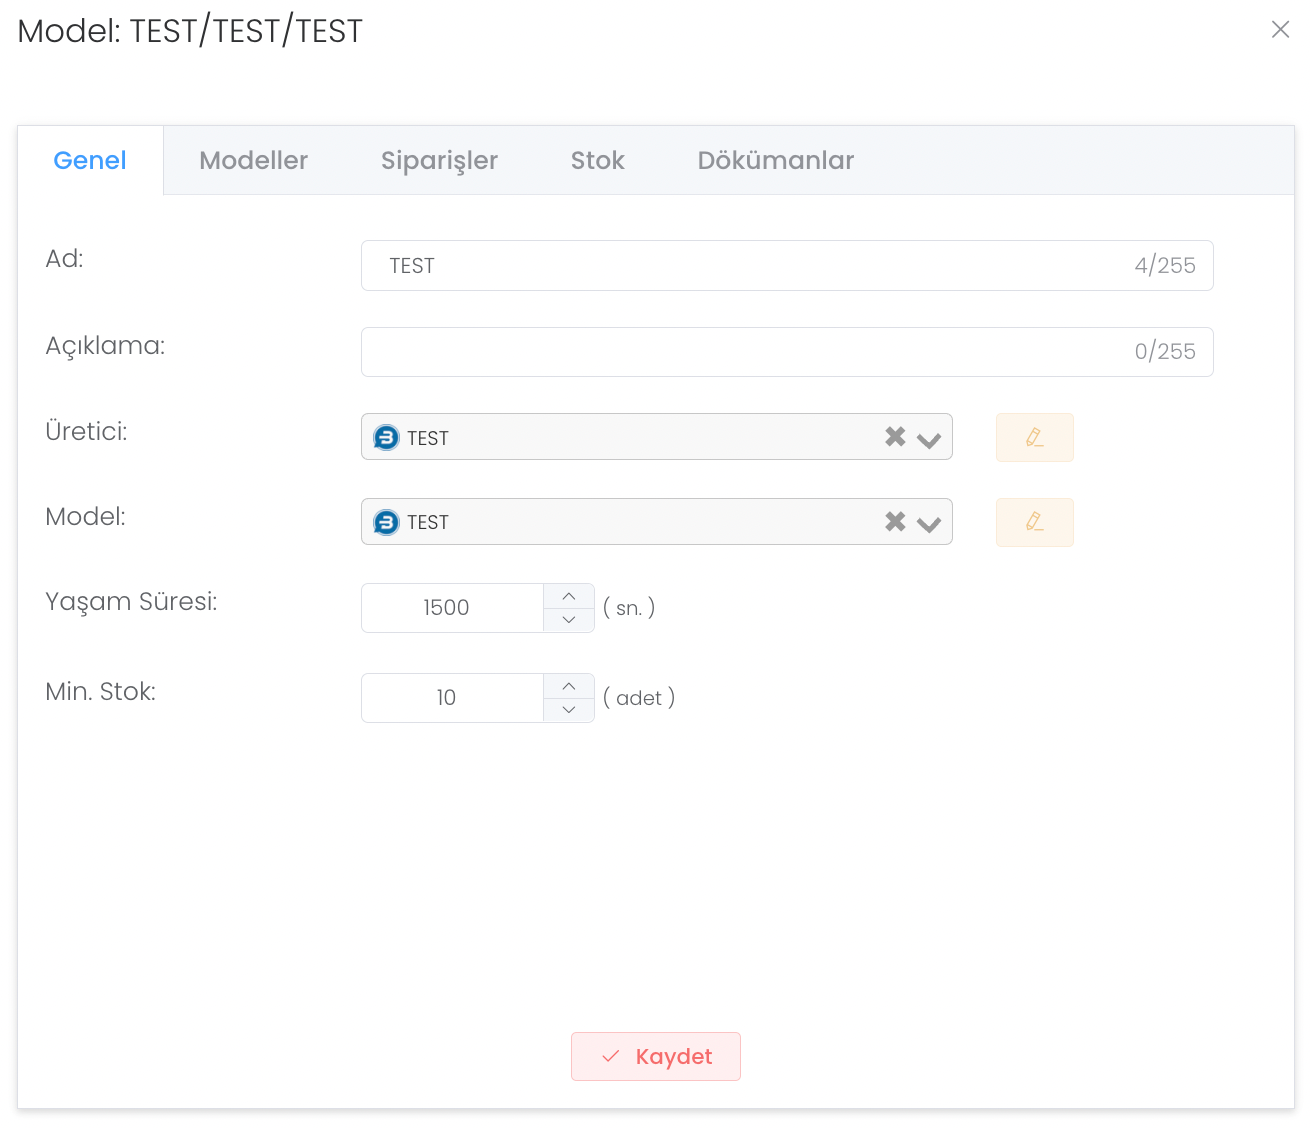
When you click the "Save" button during creation, the "General" and "Models" fields will open directly. In the General area, it provides you with the area where you can change the data you entered in the previous area.
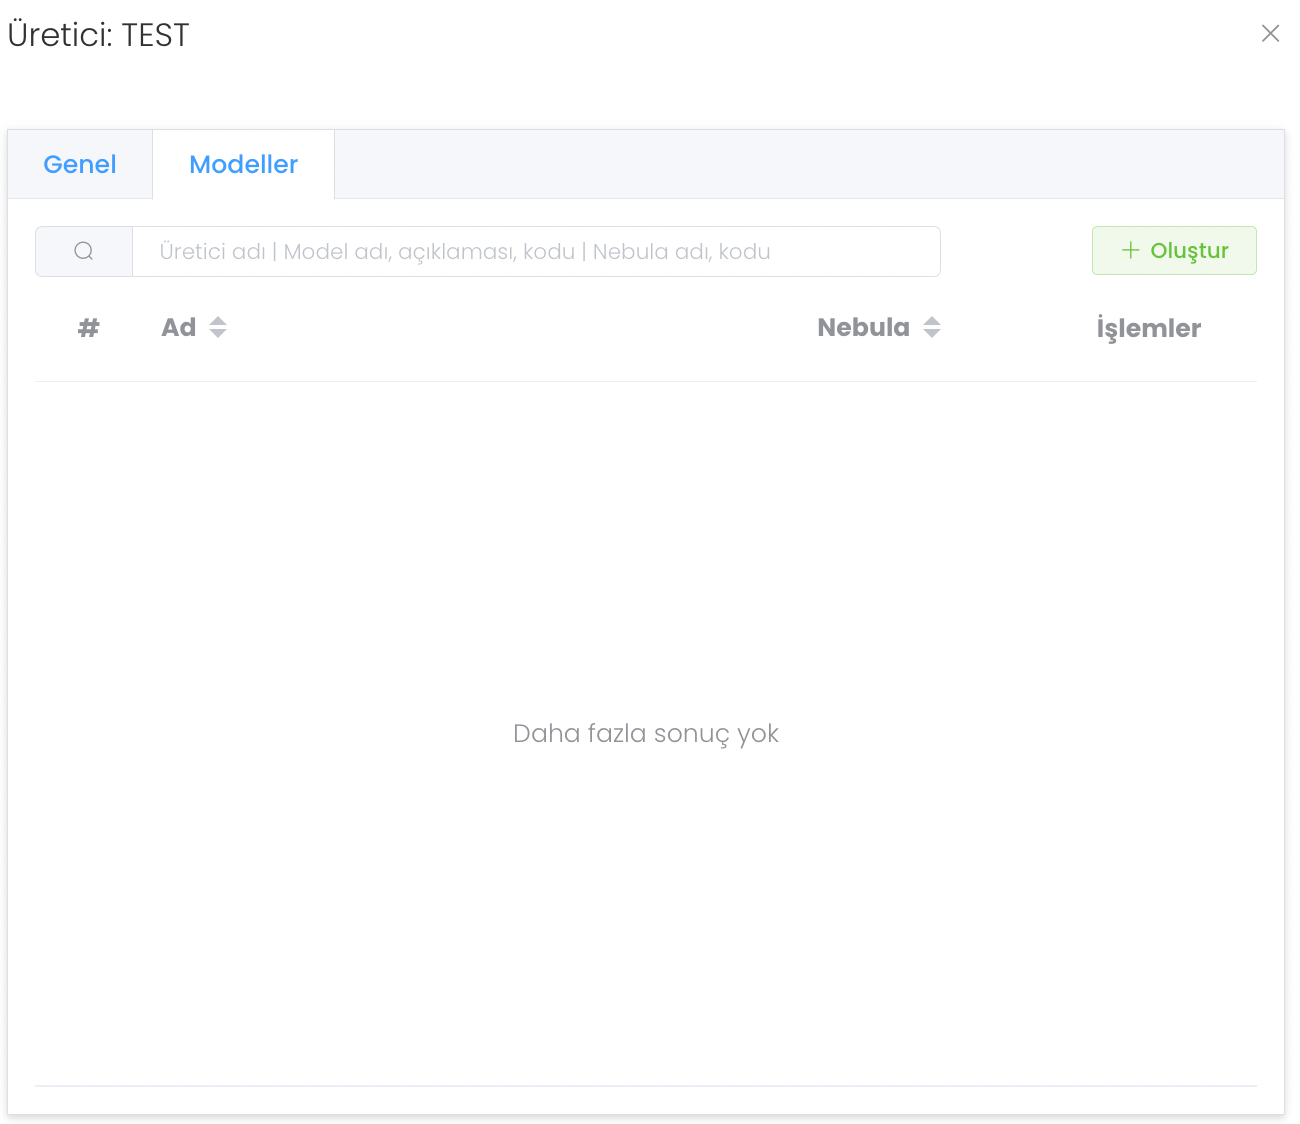
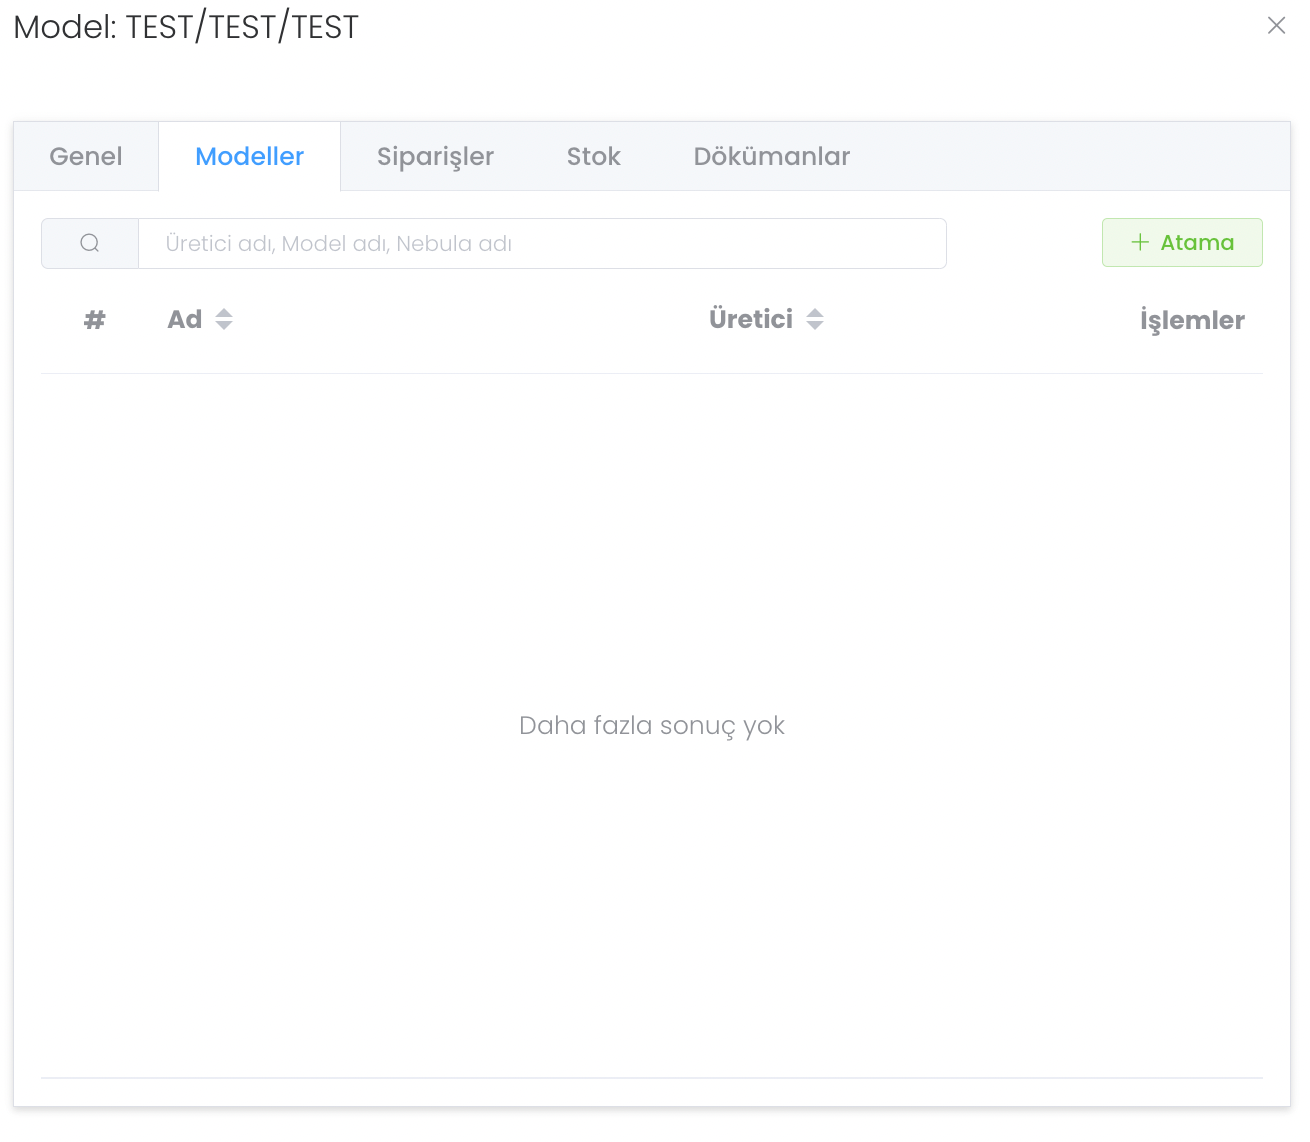
In the Models section you will see the models connected to the part. If you do not have a model, you can create a new model with the Create button.
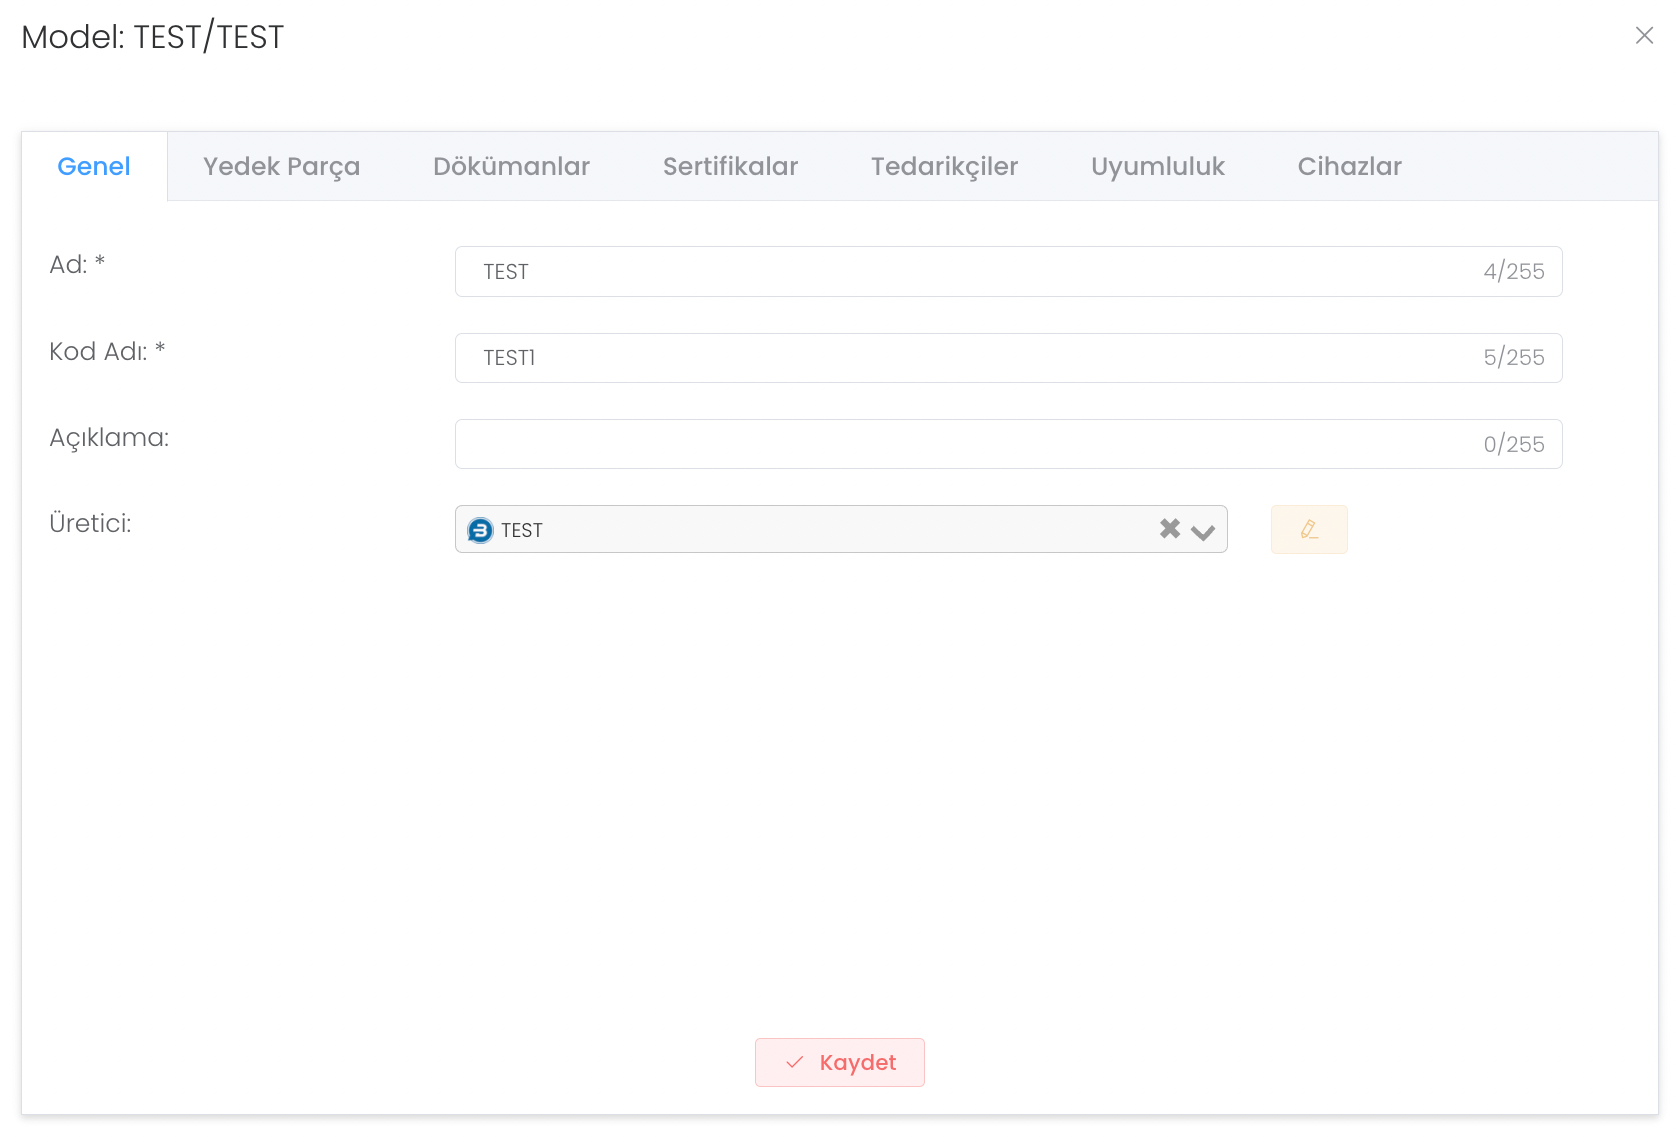
After pressing the "Create" button and entering information such as name, code name, description, manufacturer, your new model creation is completed.

Click on your model to edit the created model. You will be presented with a panel where you can make customisations. The General panel is the area you will use to update the information you entered in your previous creation.
In the Spare Parts section you will see the defined spare parts for your model. If there is no definition, you can create a new spare part by pressing the "Create" button.
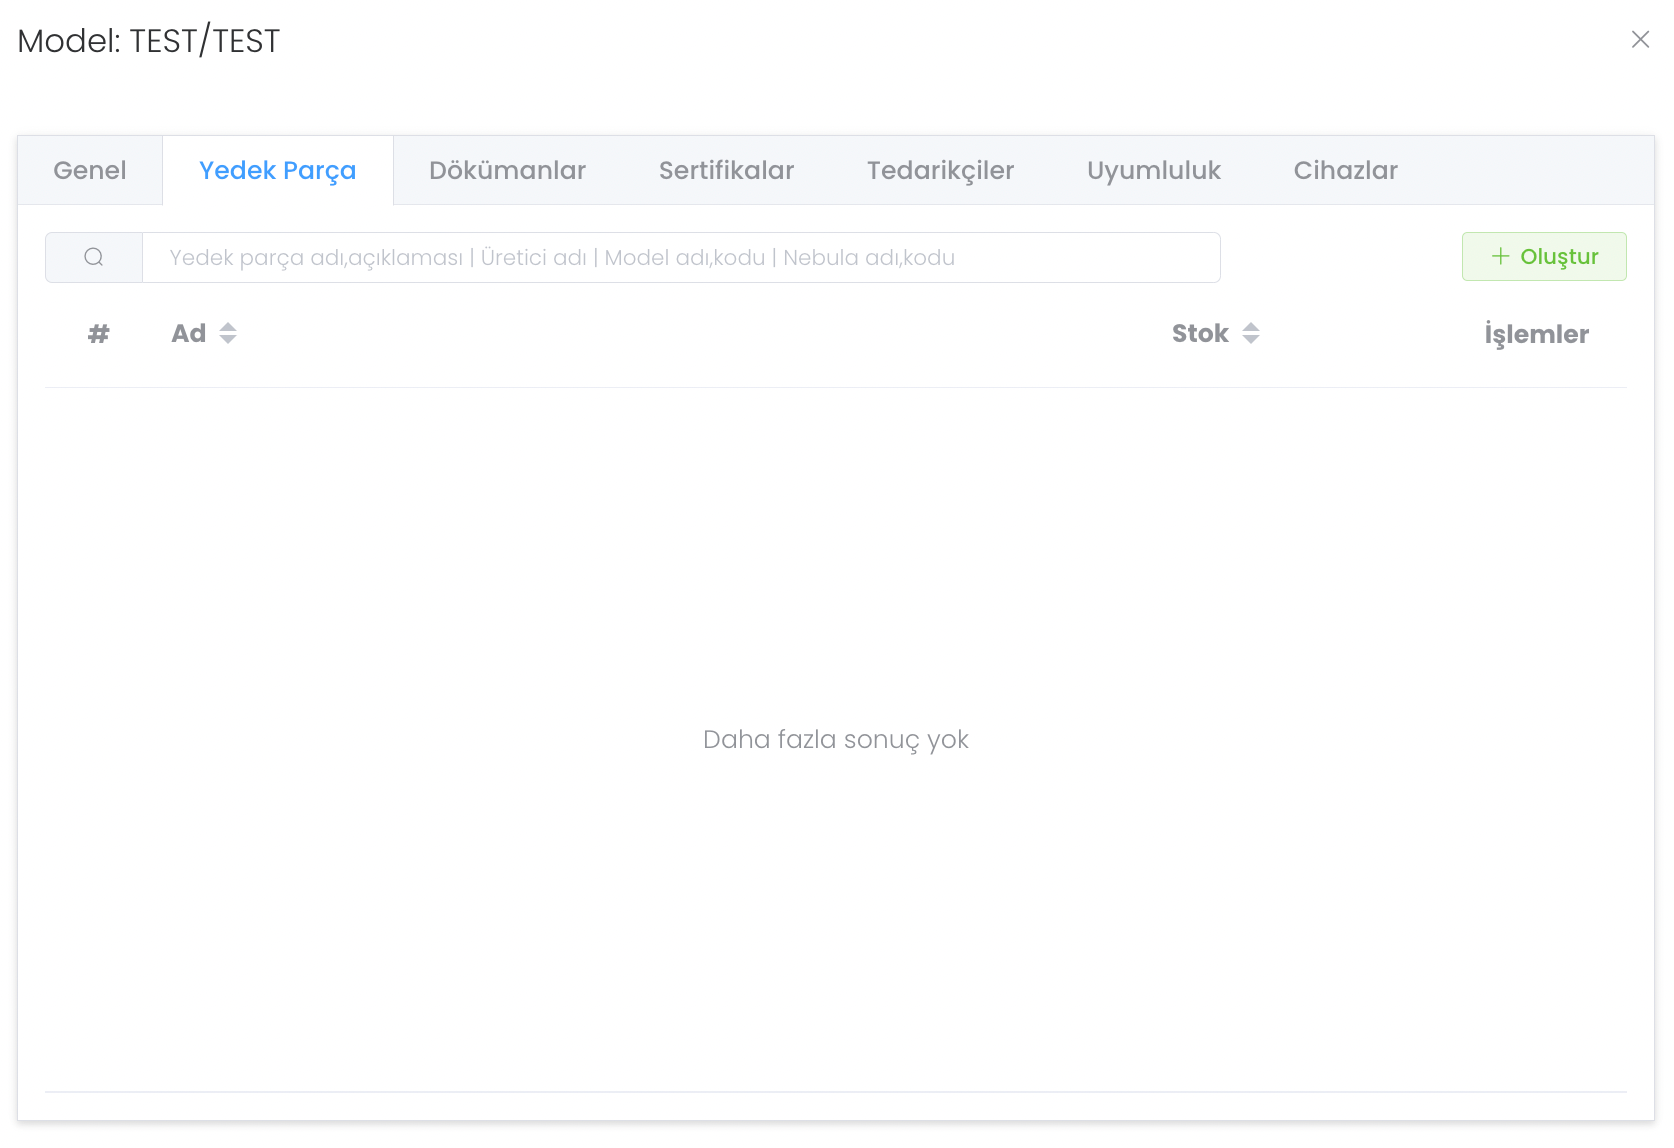
After pressing the "Create" button, you can enter information such as name, description, manufacturer, model etc. and define spare parts for your model.
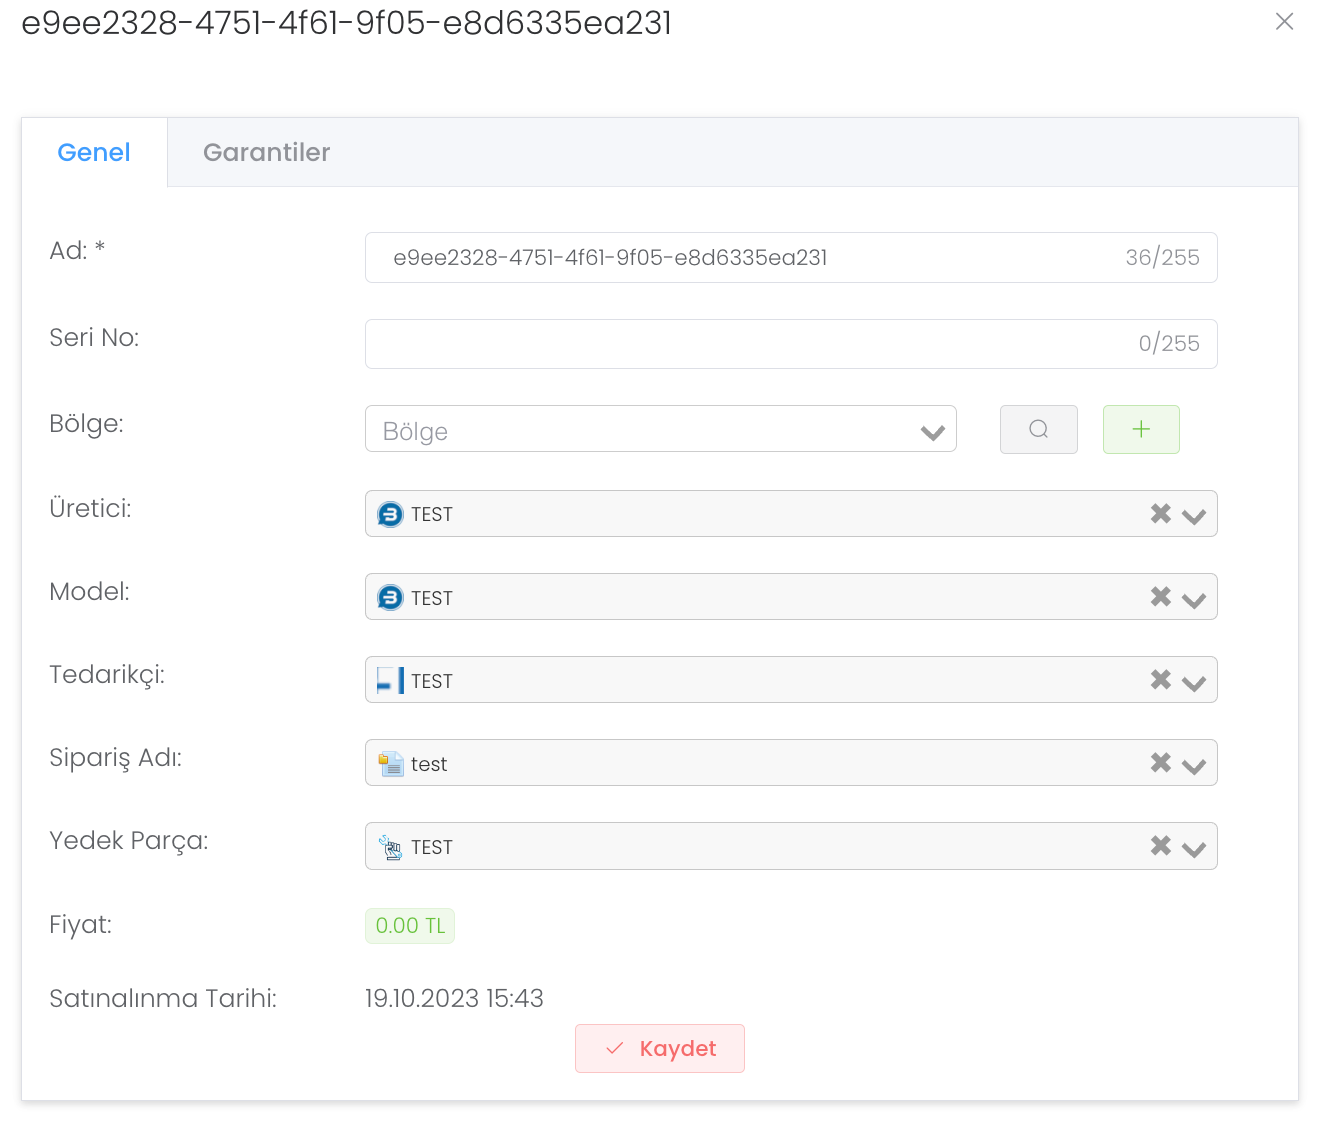
When you define a new spare part, you will automatically see this panel. It is a panel created for you to update the information of your spare part that you created for your model in the "General" section.
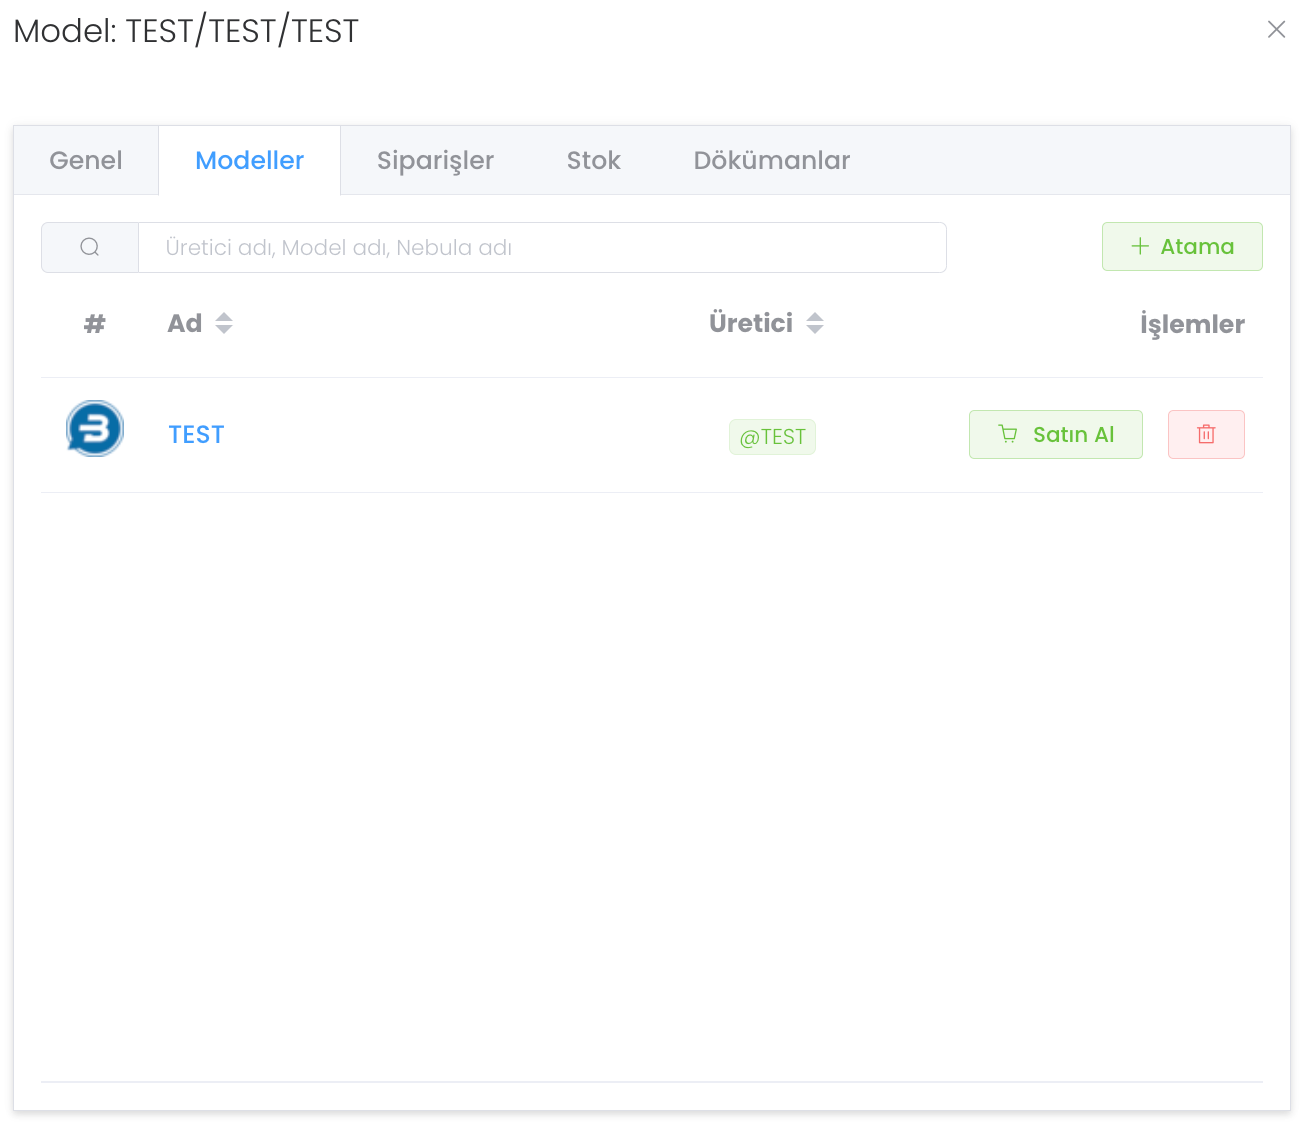
Models section is an area where you can create and purchase models. If you do not have any model, you can create a new model with the "Create" button.
When we click on our "Test" model that we added in the Models section, a new panel` opens and we enter detailed information here.
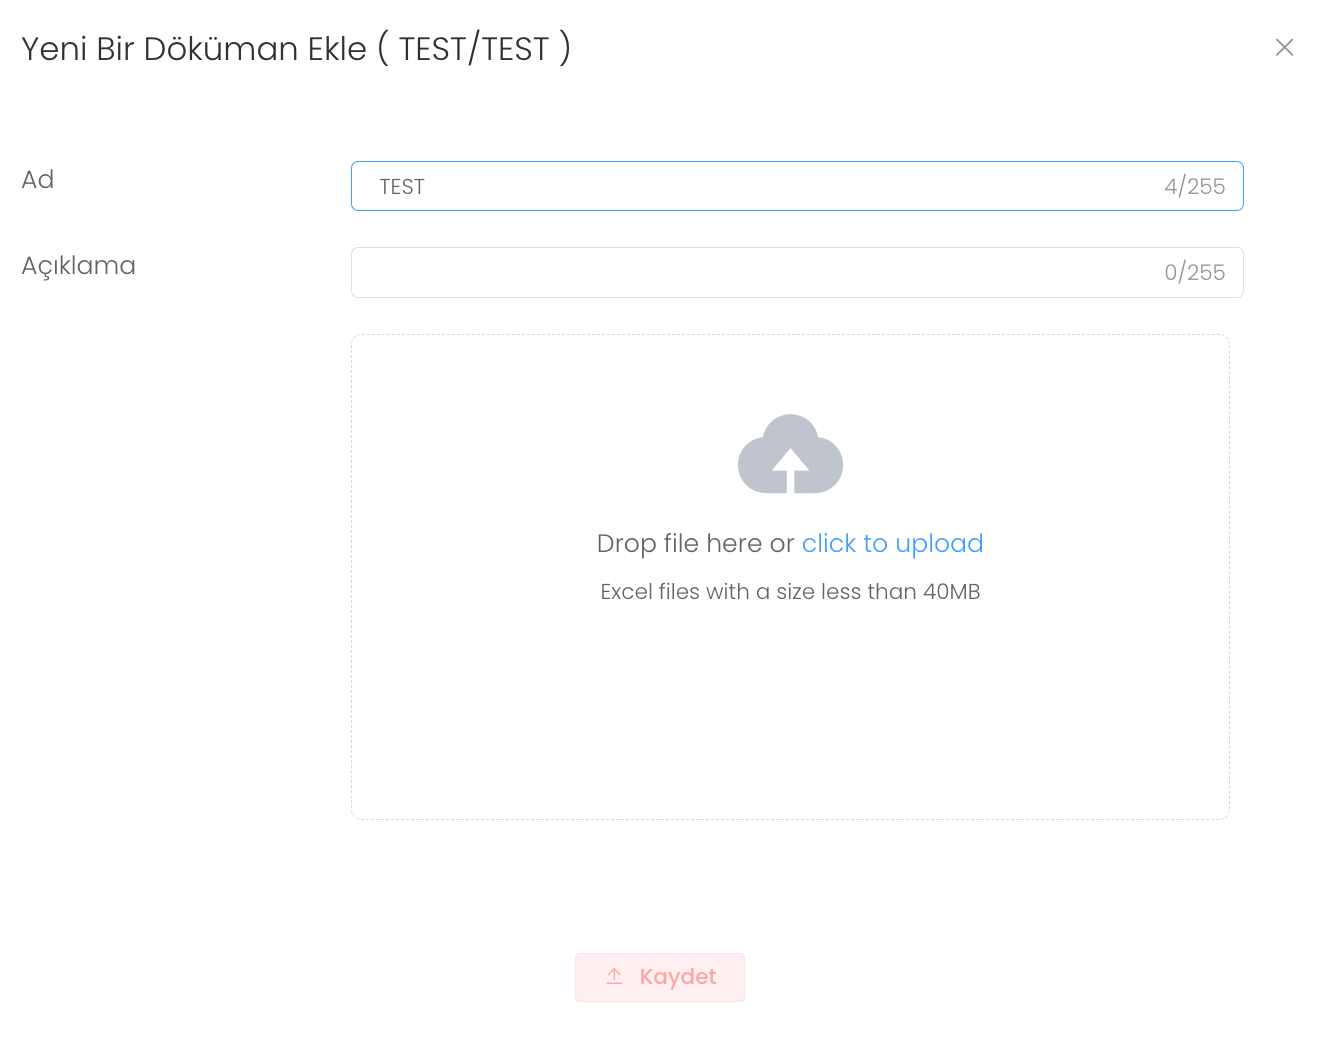
In the Documents section, you can see the documents defined in the model and if necessary, you can download them by pressing the green button containing the download icon. To create a new document, click on the "Create" button.
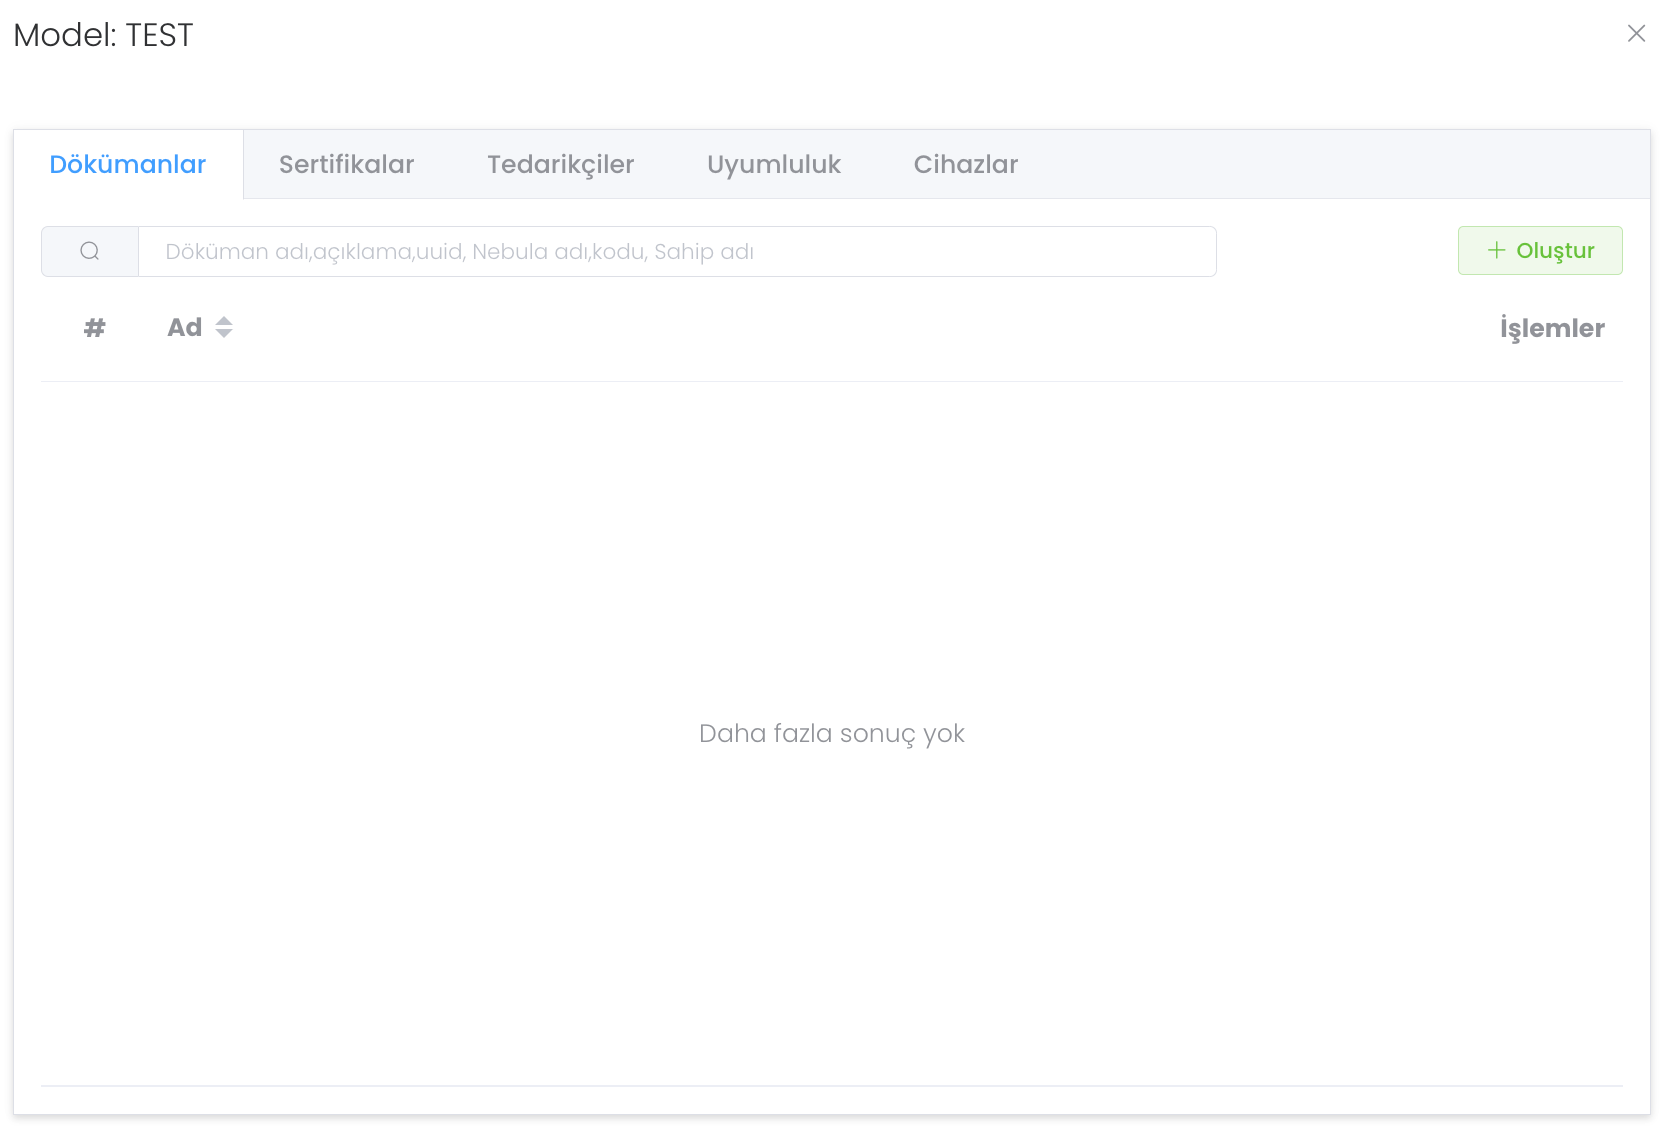
After clicking the "Create" button, just upload the name, description and required file and press the "Save" button. Thus, you will have added a new document.
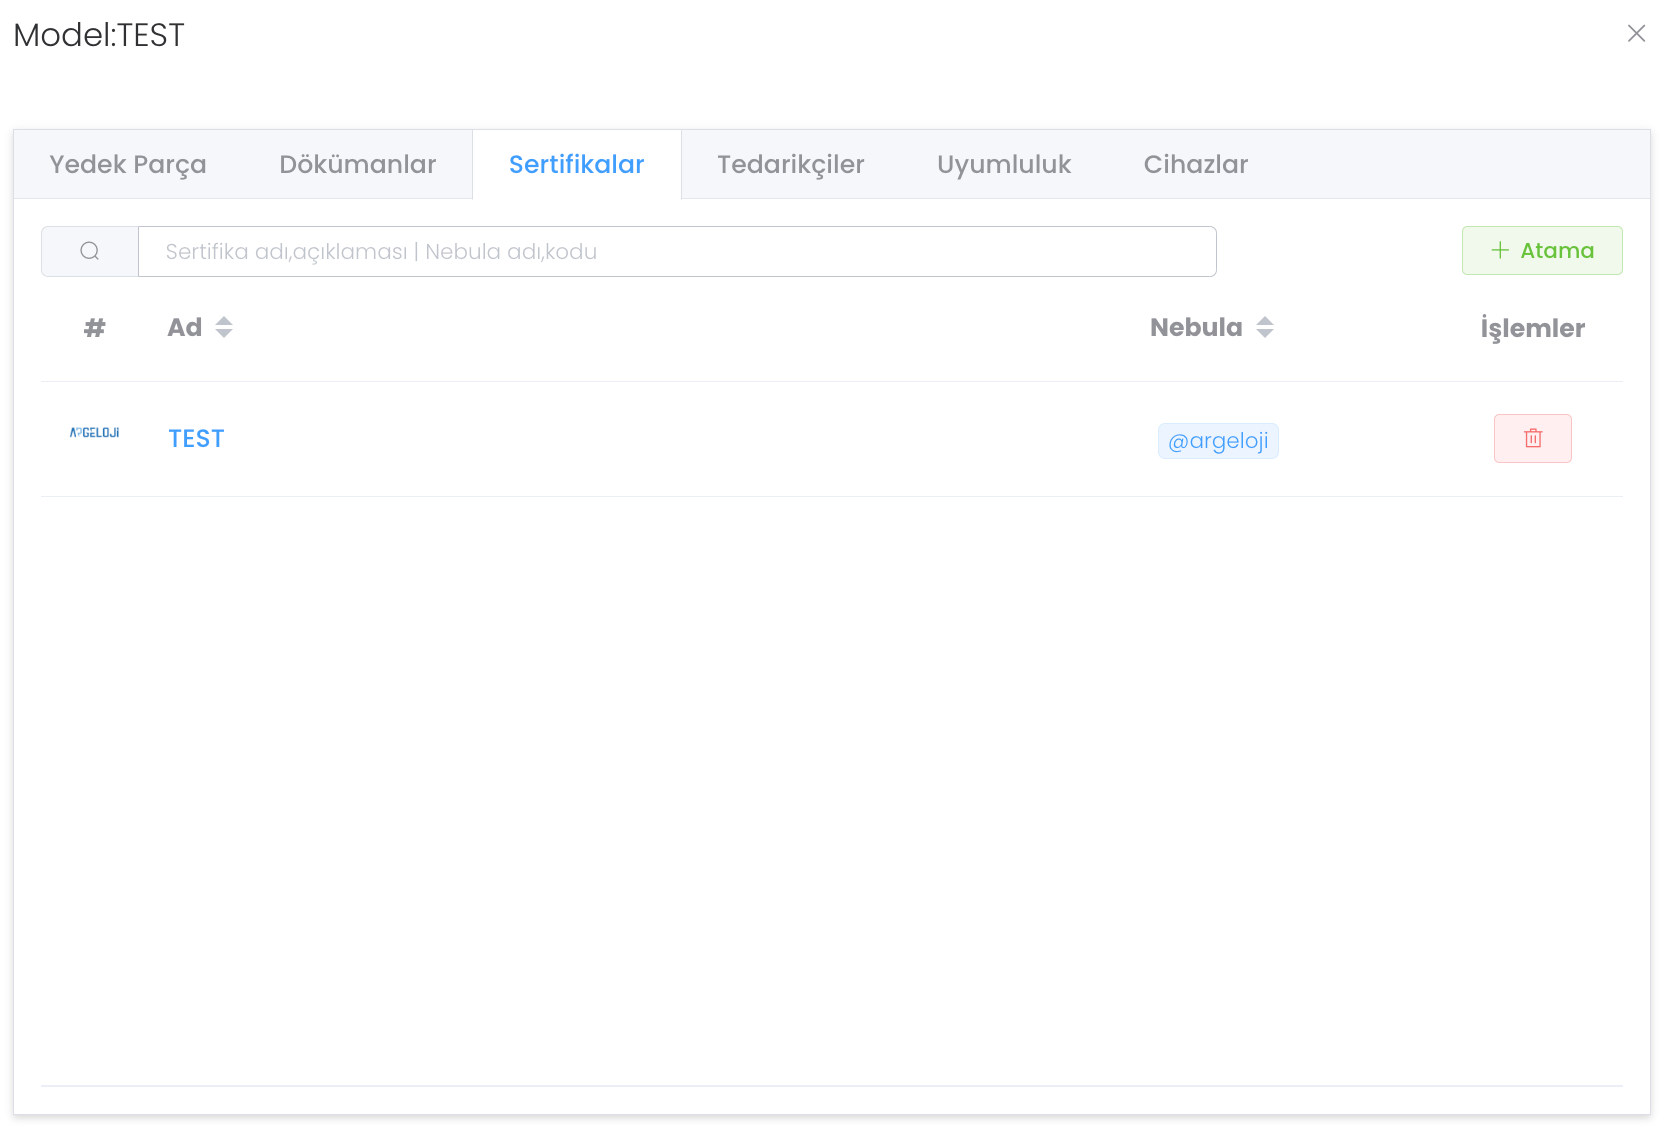
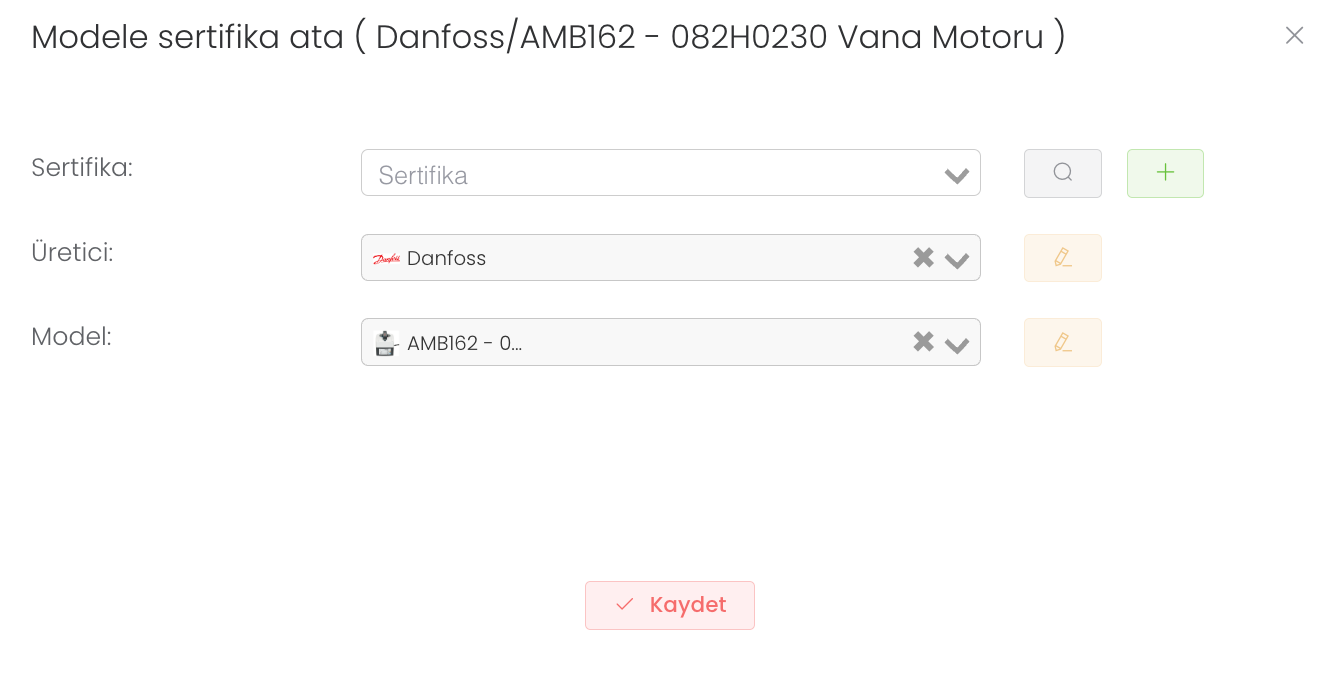
In the Certificates section you see and manage the Certificates assigned to the model. To assign a new certificate to the model, click on the "Assign" button.
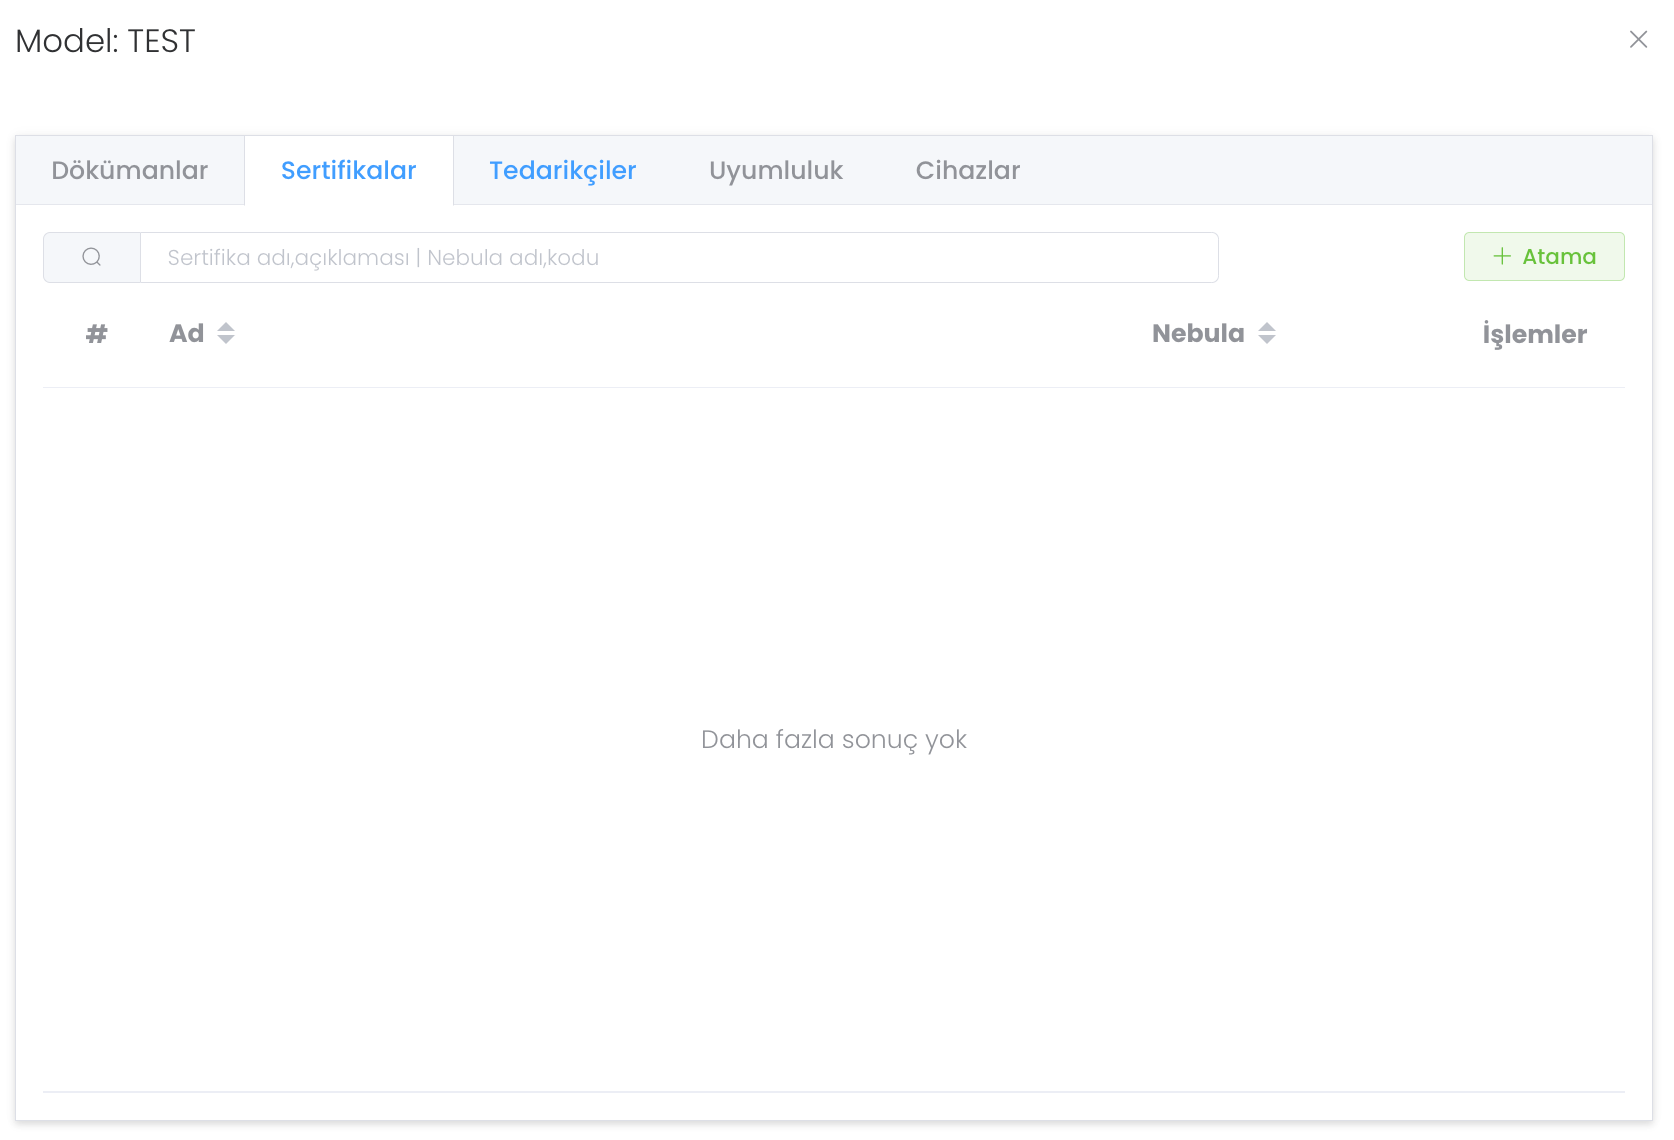
After clicking the "Assignment" button, enter certificate, manufacturer and model information and click the "Save" button. Thus, you have assigned a new certificate.

If you click on any certificate that you have assigned or already assigned and go into it, there is a "General" section where you can edit the certificate information.
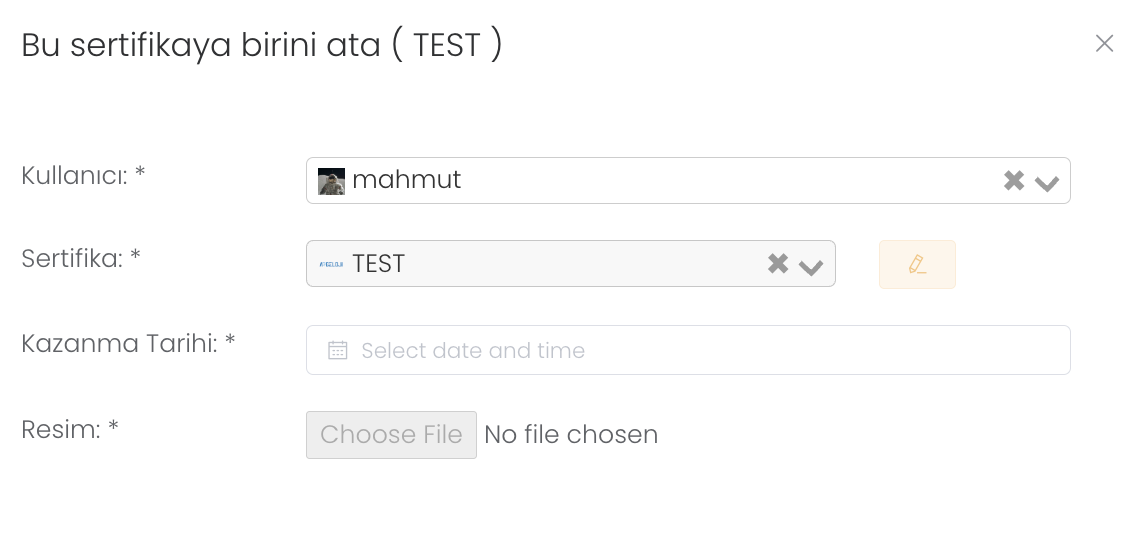
In the "Users" section, you can view and manage the users who have the certificate. If you want to add a user, you can click the Assign button and add a new user to the certificate.
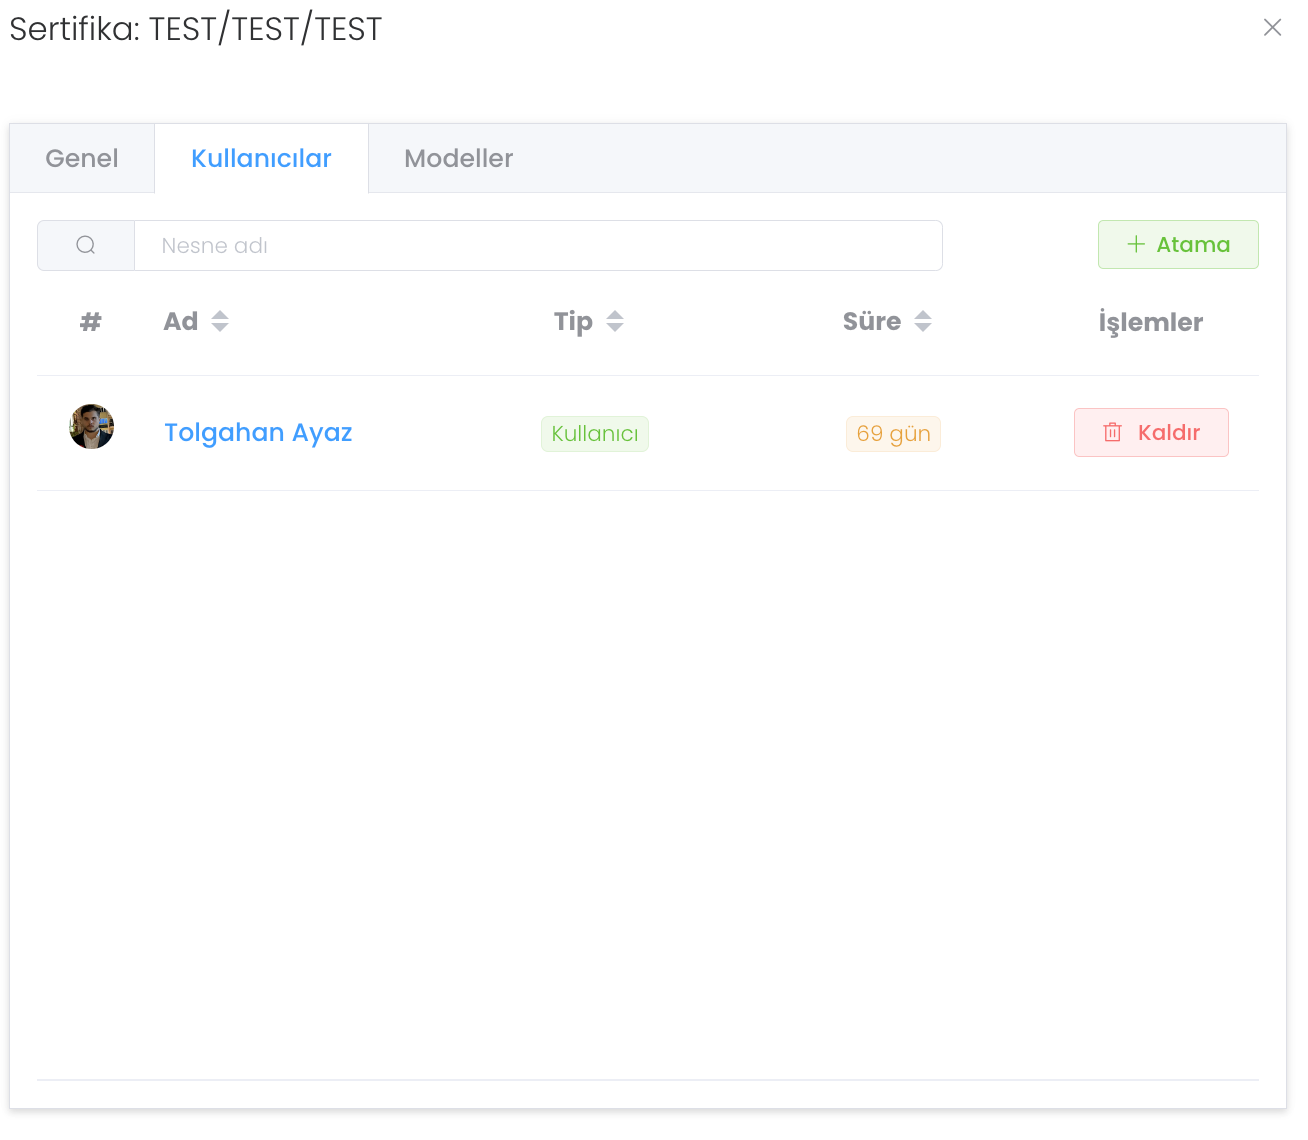
When you click on the "Assignment" button, after entering the information requested from you completely, the assignment process will be completed.
The Models in certificate section provides you with the information about which models this certificate is used in. If you want to add a model, you can go to the area where you can add a new model with the Assign button.
After pressing the "Assign" button, you can enter the requested information and assign a new certificate to your model.
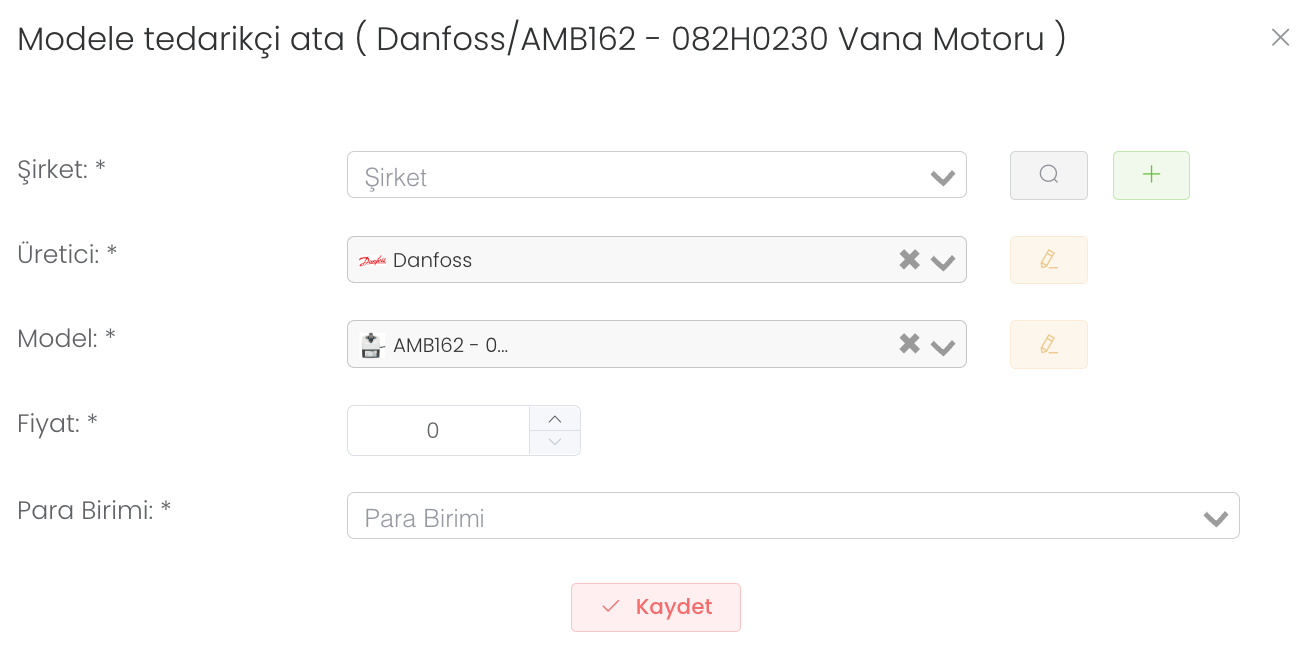
In the "Suppliers" section, you can see and manage the suppliers assigned to the model. To assign a new supplier to the model, click on the `"Assign" button.
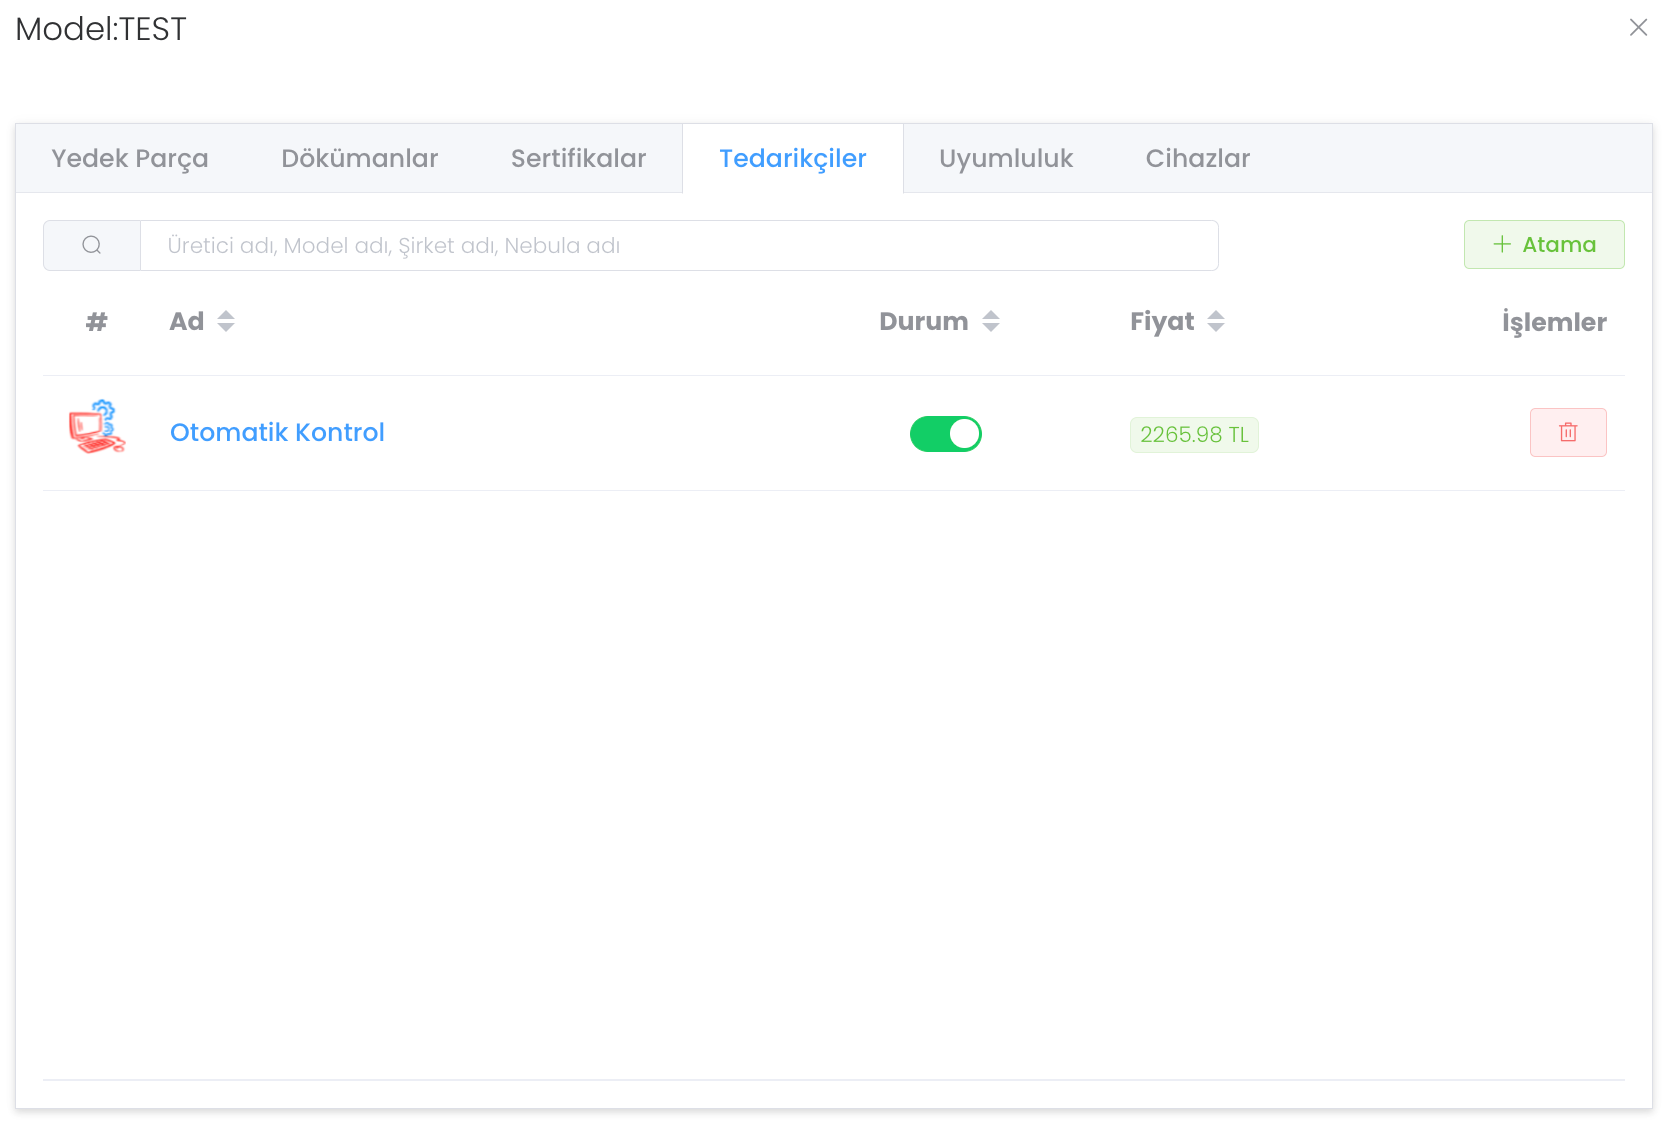
After clicking the "Assign" button, enter company, manufacturer, model, price, currency information and click the "Save" button. Thus, you will assign a new supplier.
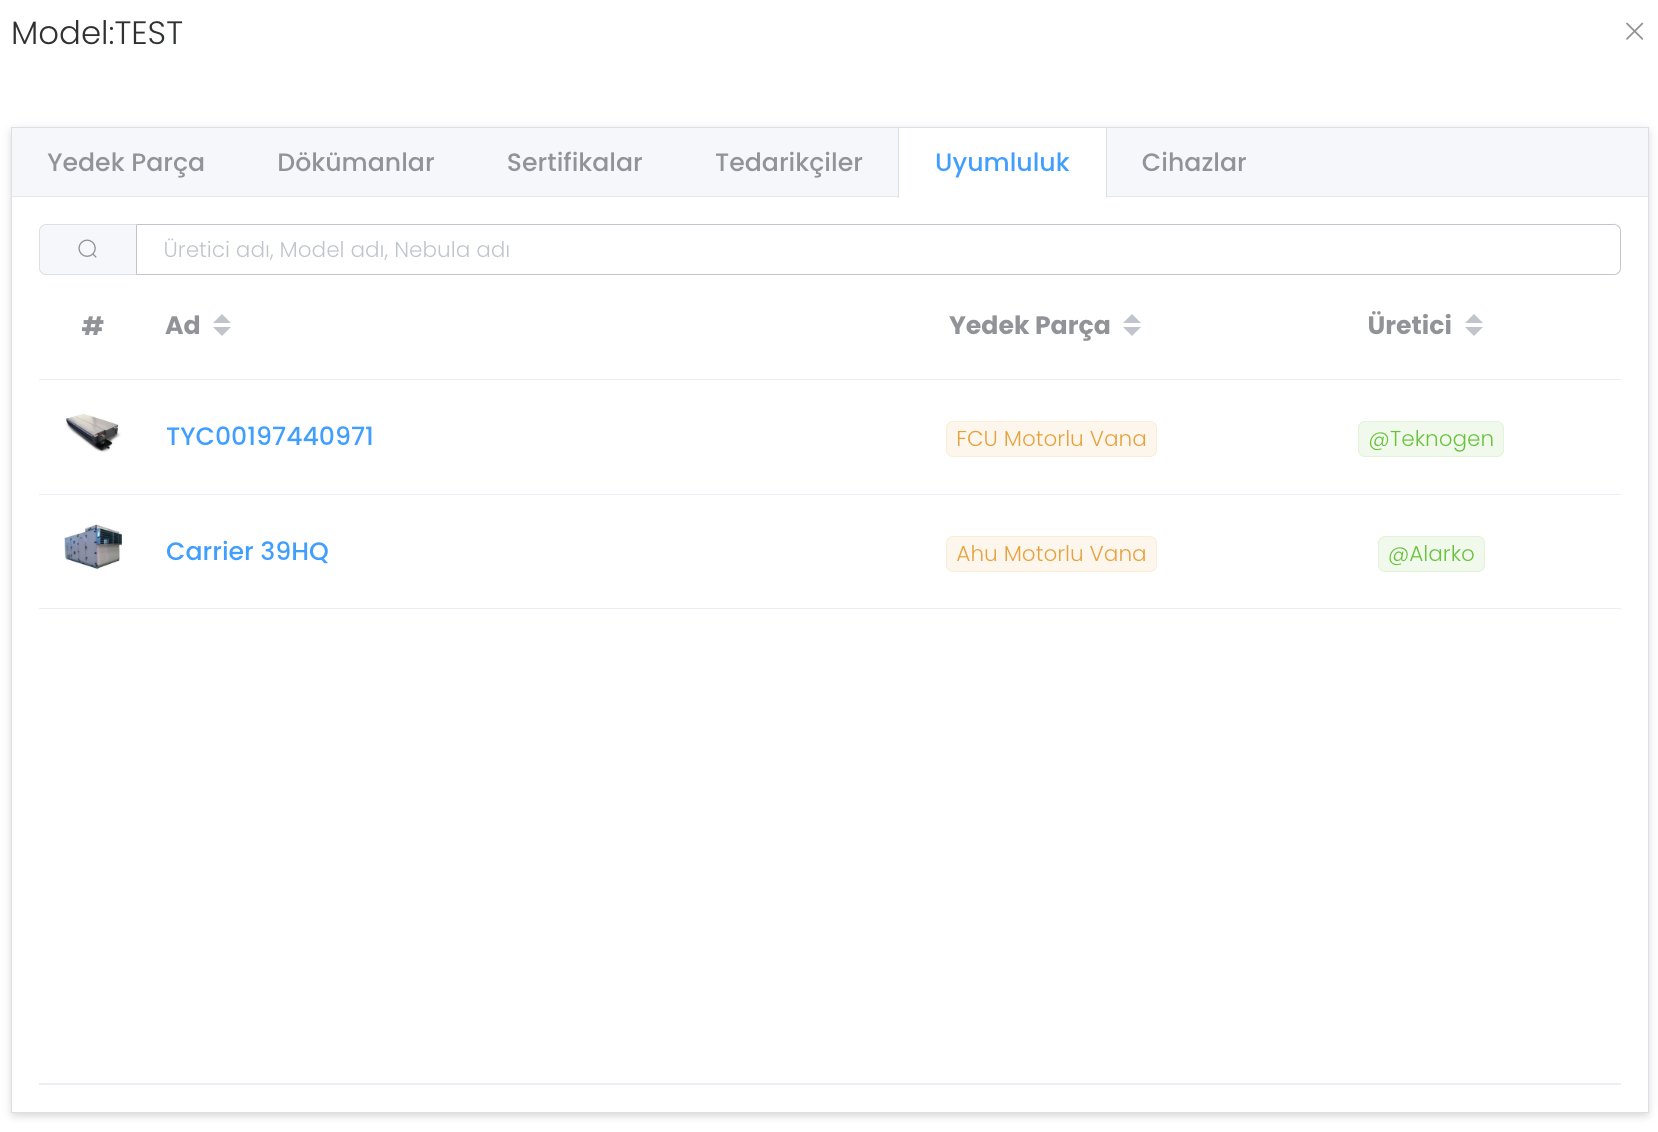
In the "Compatibility" section you can see the `compatibility status of the model and manage spare parts availability.
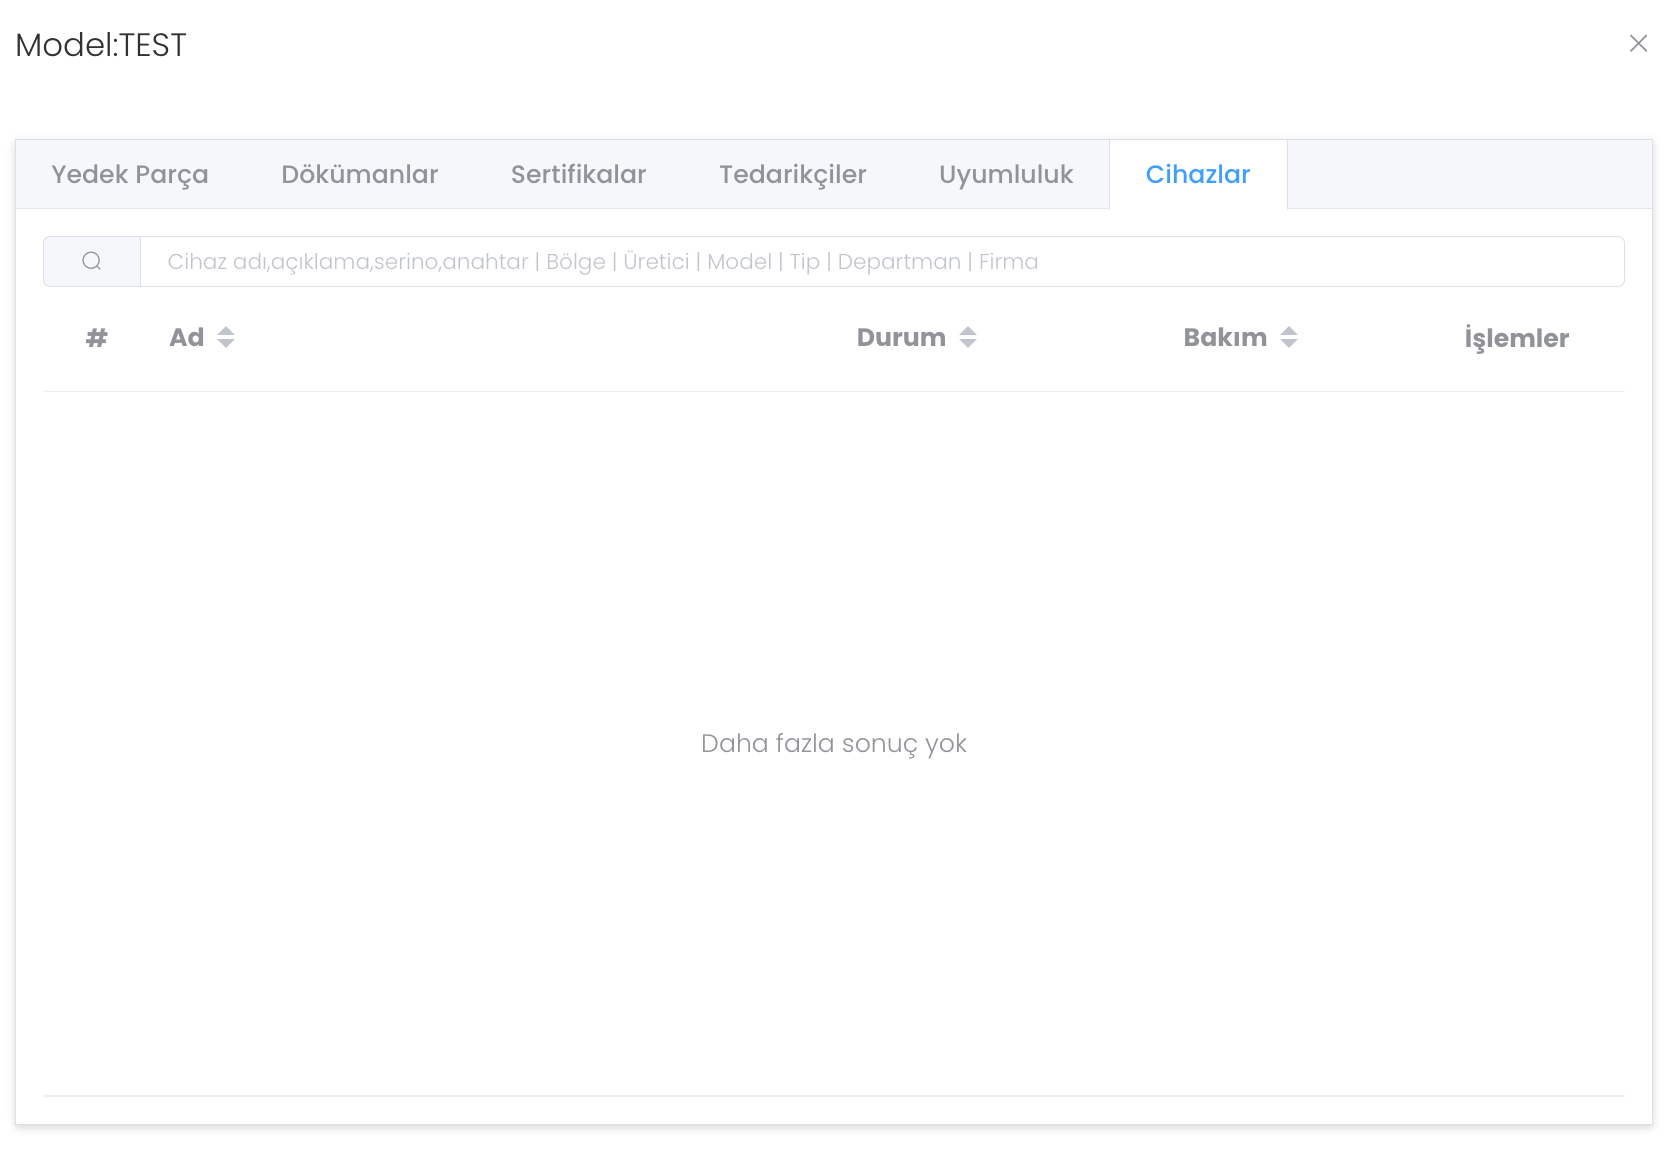
In "Devices" you see and manage the devices defined for the model.
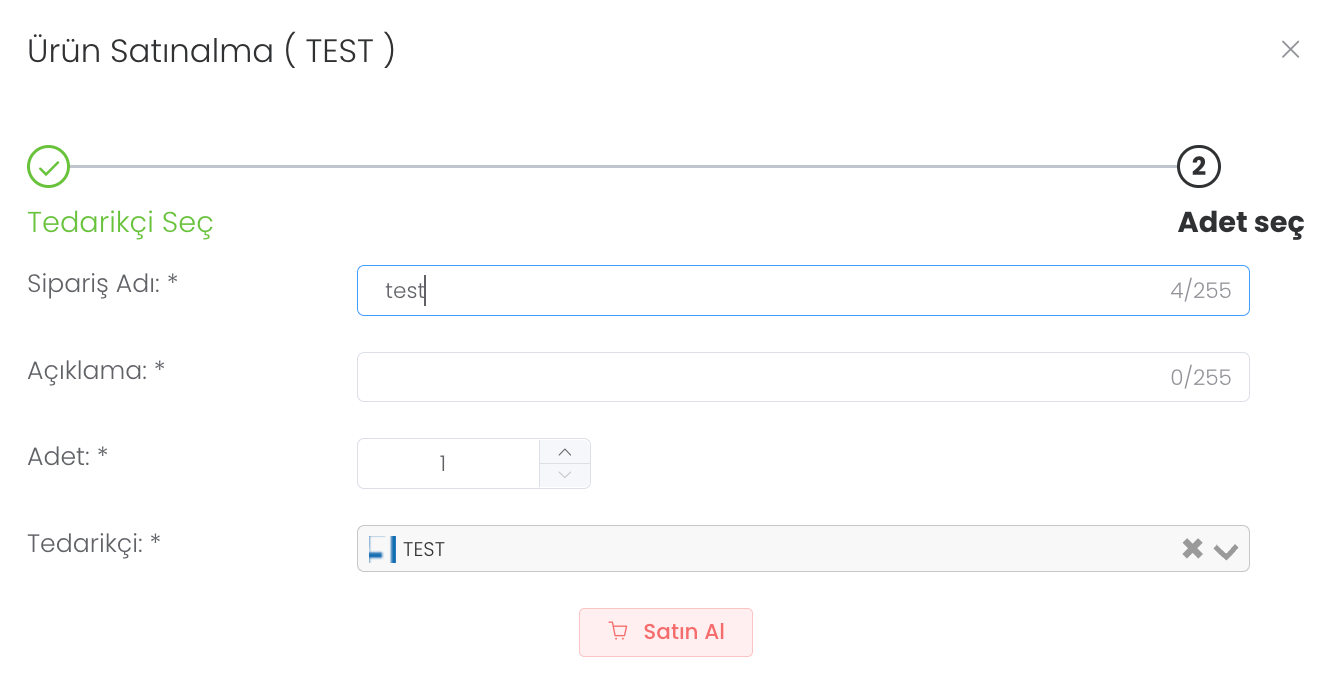
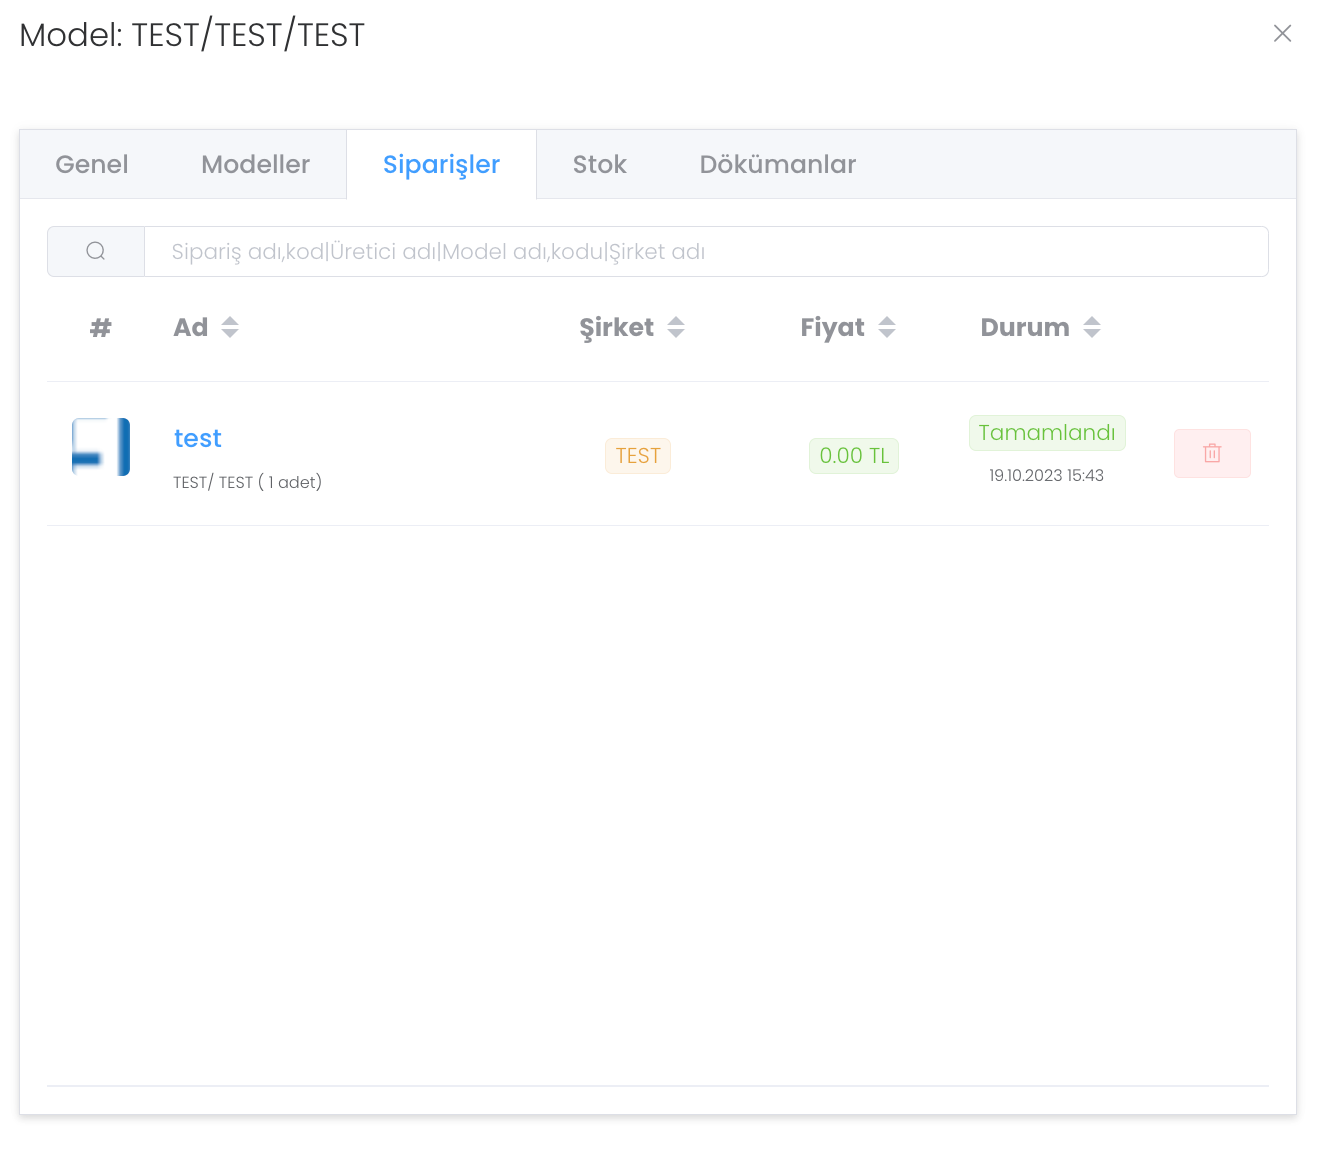
We mentioned that you can create and buy models in the Models section. When you press the "Buy" button, you will see the product purchasing panel of your model.
After entering Order name, quantity, supplier, click on Purchase button.
After pressing the "Buy" button, you can create and buy models in the "Models section. When you press the "Buy" button, the product purchasing panel of your model will appear. After entering the order name, quantity, supplier, click on the "Buy" button"` will come a warning. You should make your choice according to the situation you want to do at that moment.
After making our selection, if you have the product, you will see a panel where you will wait for it to be completed if you have requested this panel. When you receive the product, you must press the `"Completed" button.
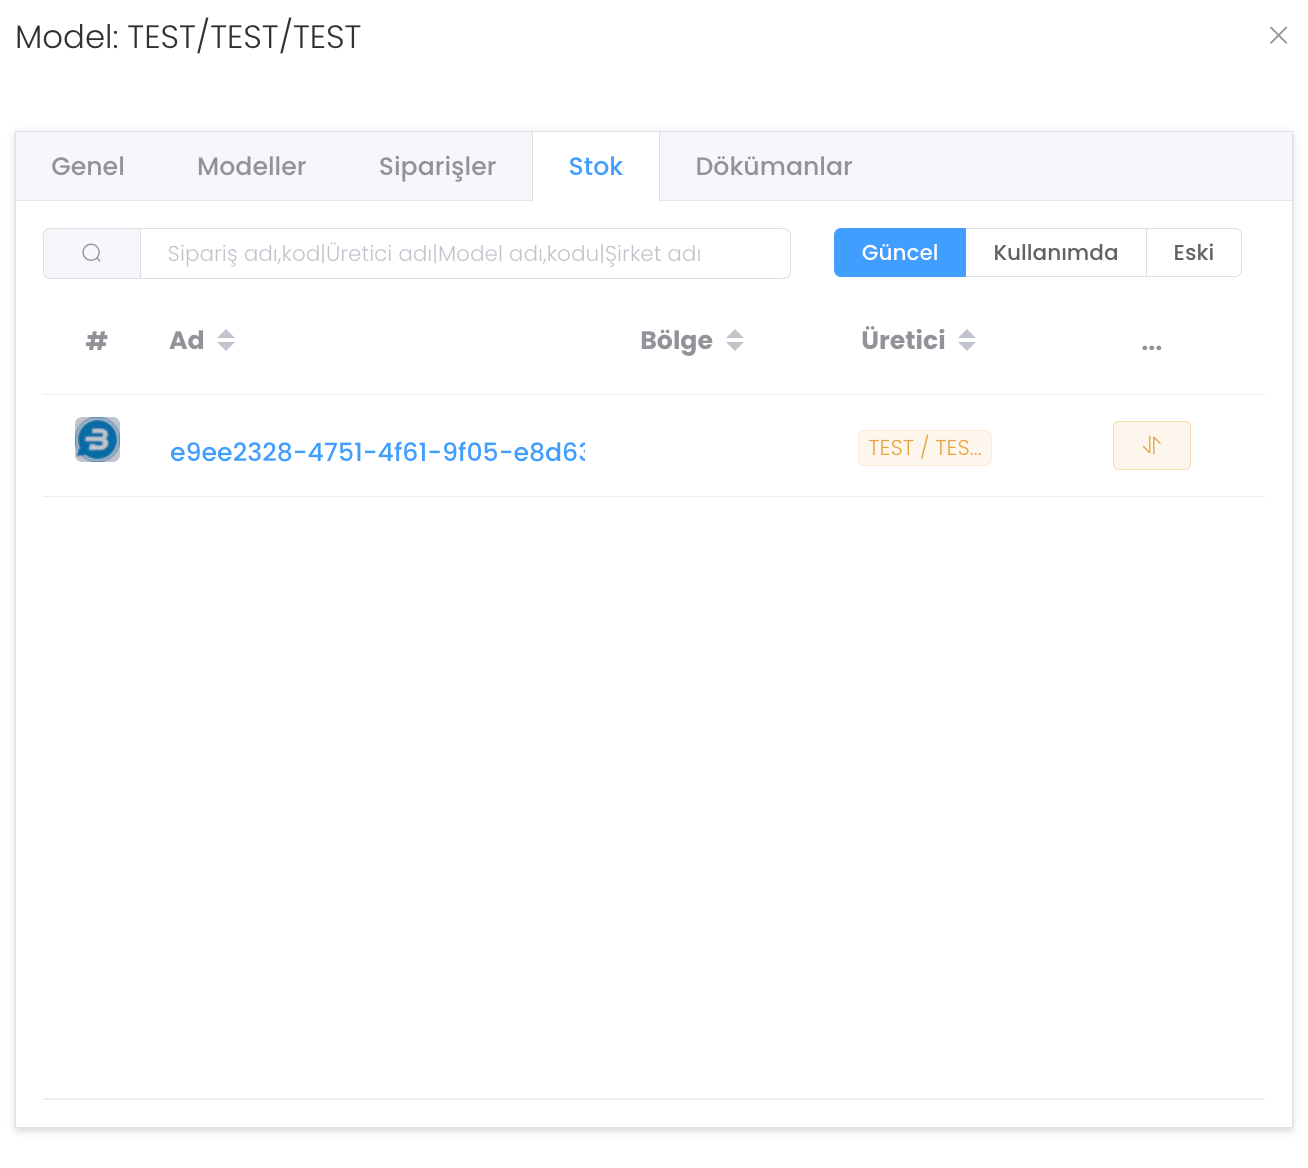
There is a panel where you can view the stock status of your model in three categories as Current-Used-Old.
We provide a structure where the documents defined in the model are displayed that you can download within the requirement.
If you want to define a document for your model, you can click the "Create" button and actualise the definition.
After clicking the "Create" button, you can upload the name, description and required file to the relevant section and complete the process with the "Save"` button.